Template Settings #
Uploading Template: #
You can upload your own template and customise it as you like.
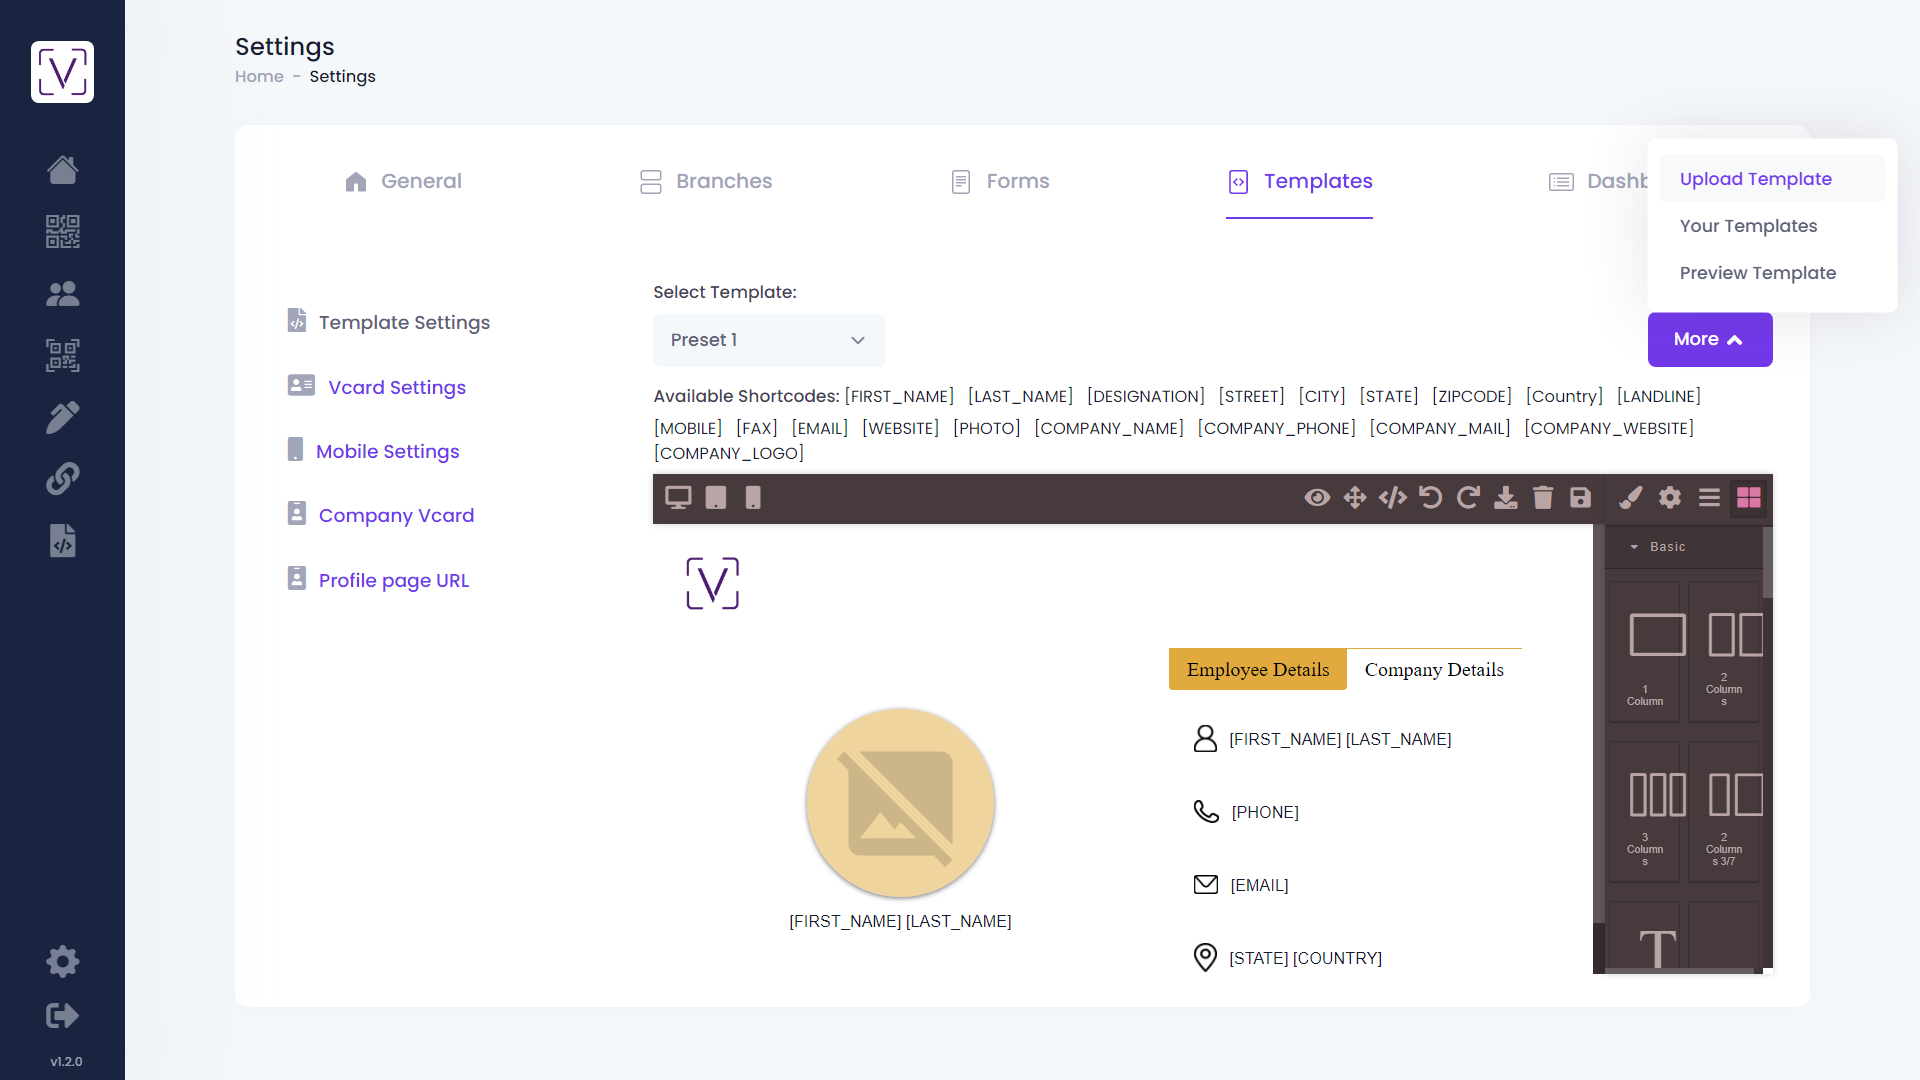
Click on More and Select Upload Template.
Provide a Template Name and click on the Choose File field and upload your template zip file.
Click on the Submit button to upload your template.
After successful submission your template will load in the editor.
Note: Please try to upload a zip file. Your zip file should only have HTML and CSS file. You can include your Javascript in the html file.
Uploaded Templates: #
On the Template Settings page Click on More and select Your Templates
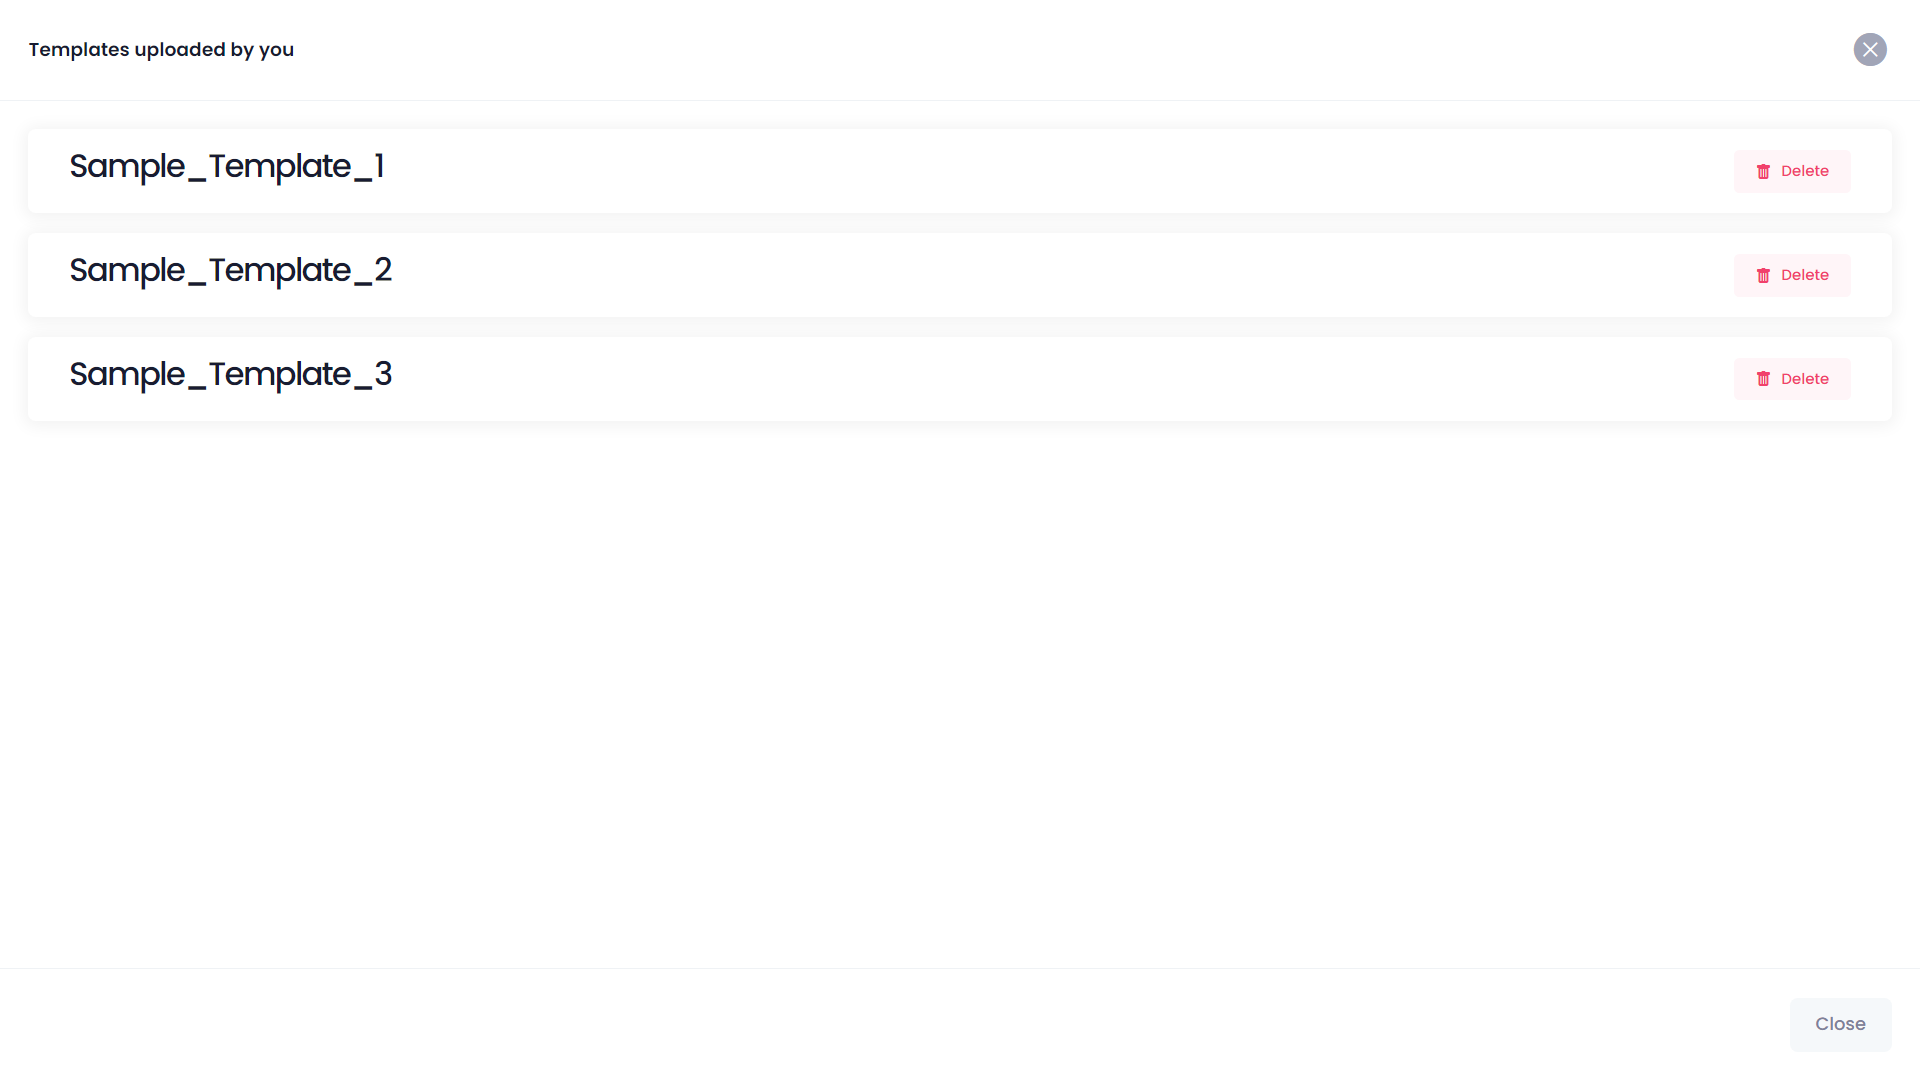
This will show you list of templates uploaded by you. You can delete the uploaded template if you want.
Editing Template: #
You can design your own custom template for user profile page.
Responsive designing: #
You can design your template responsively for any devices. for example, Desktops, Tablets, Mobile phones etc.
You can select the device type you want to edit.
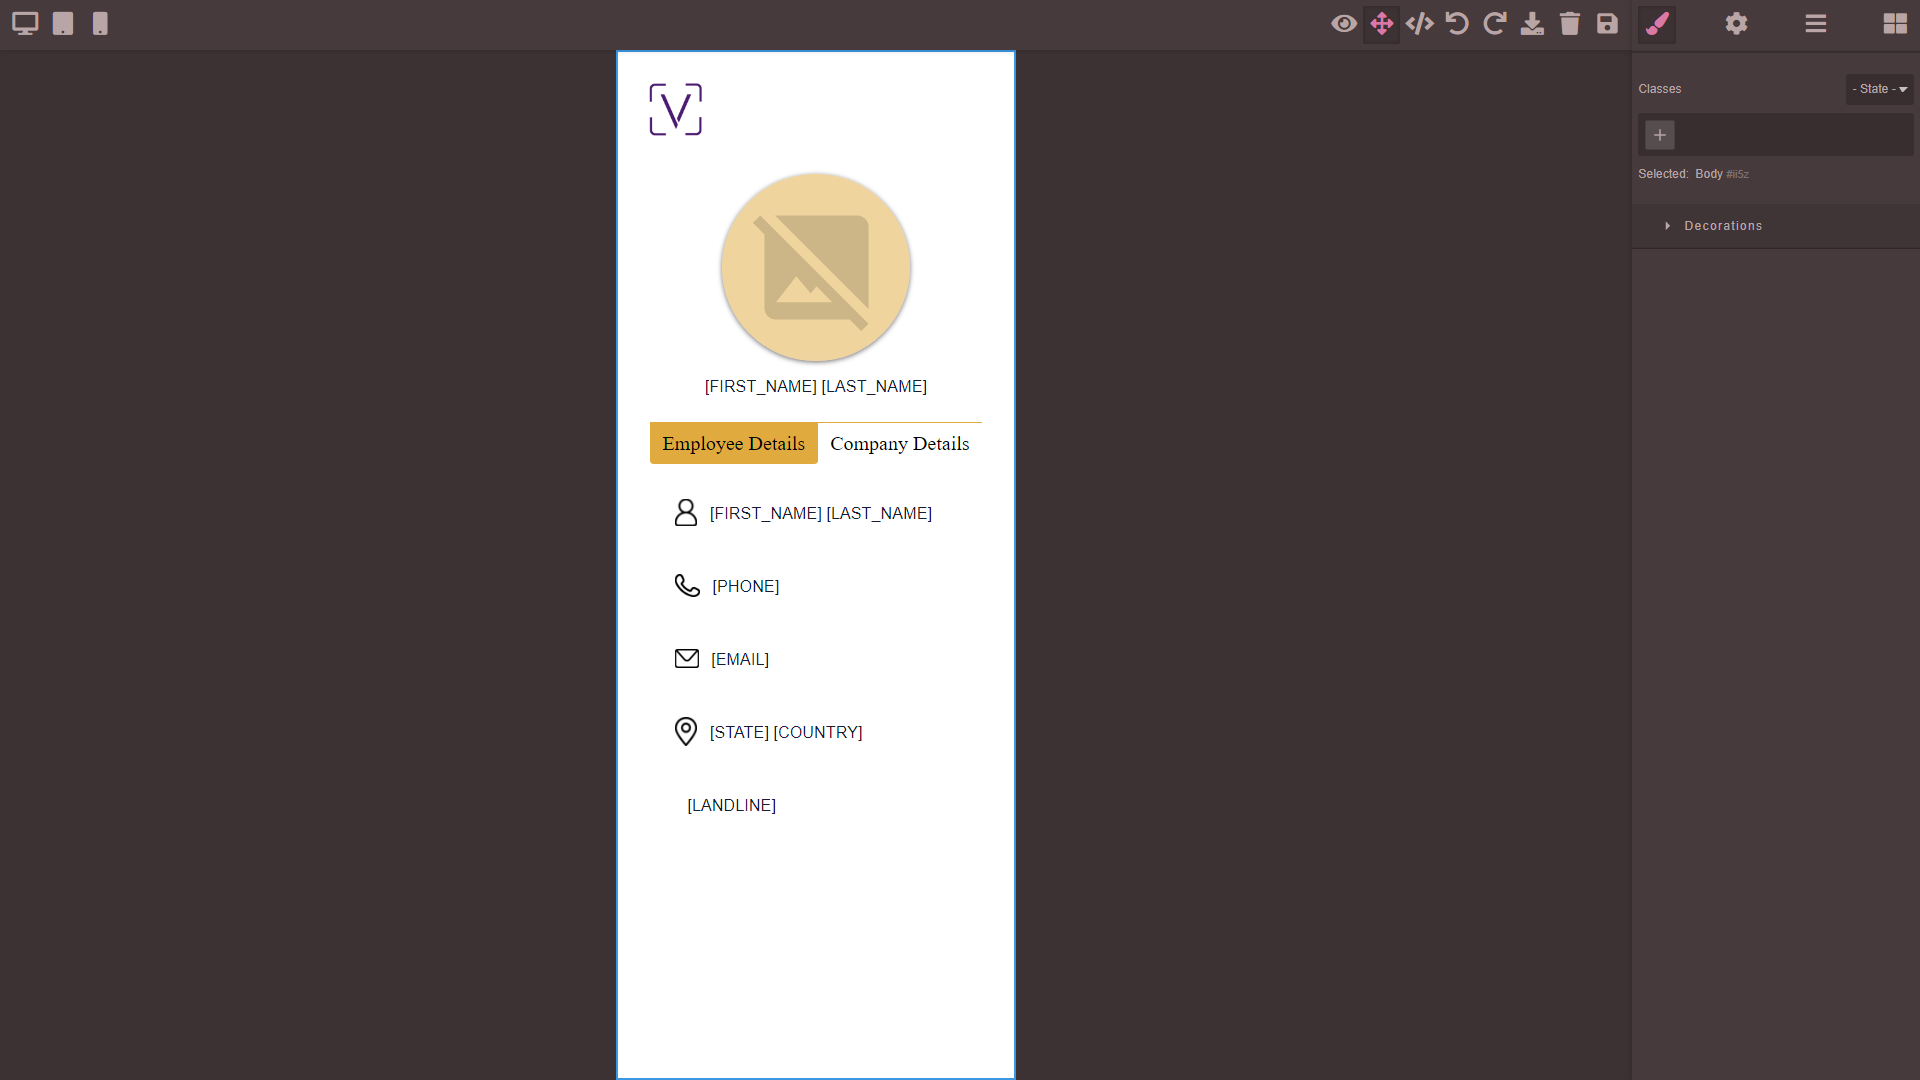
You can design your template for Desktop, Tablet, Mobile Landscape, Mobile portrait
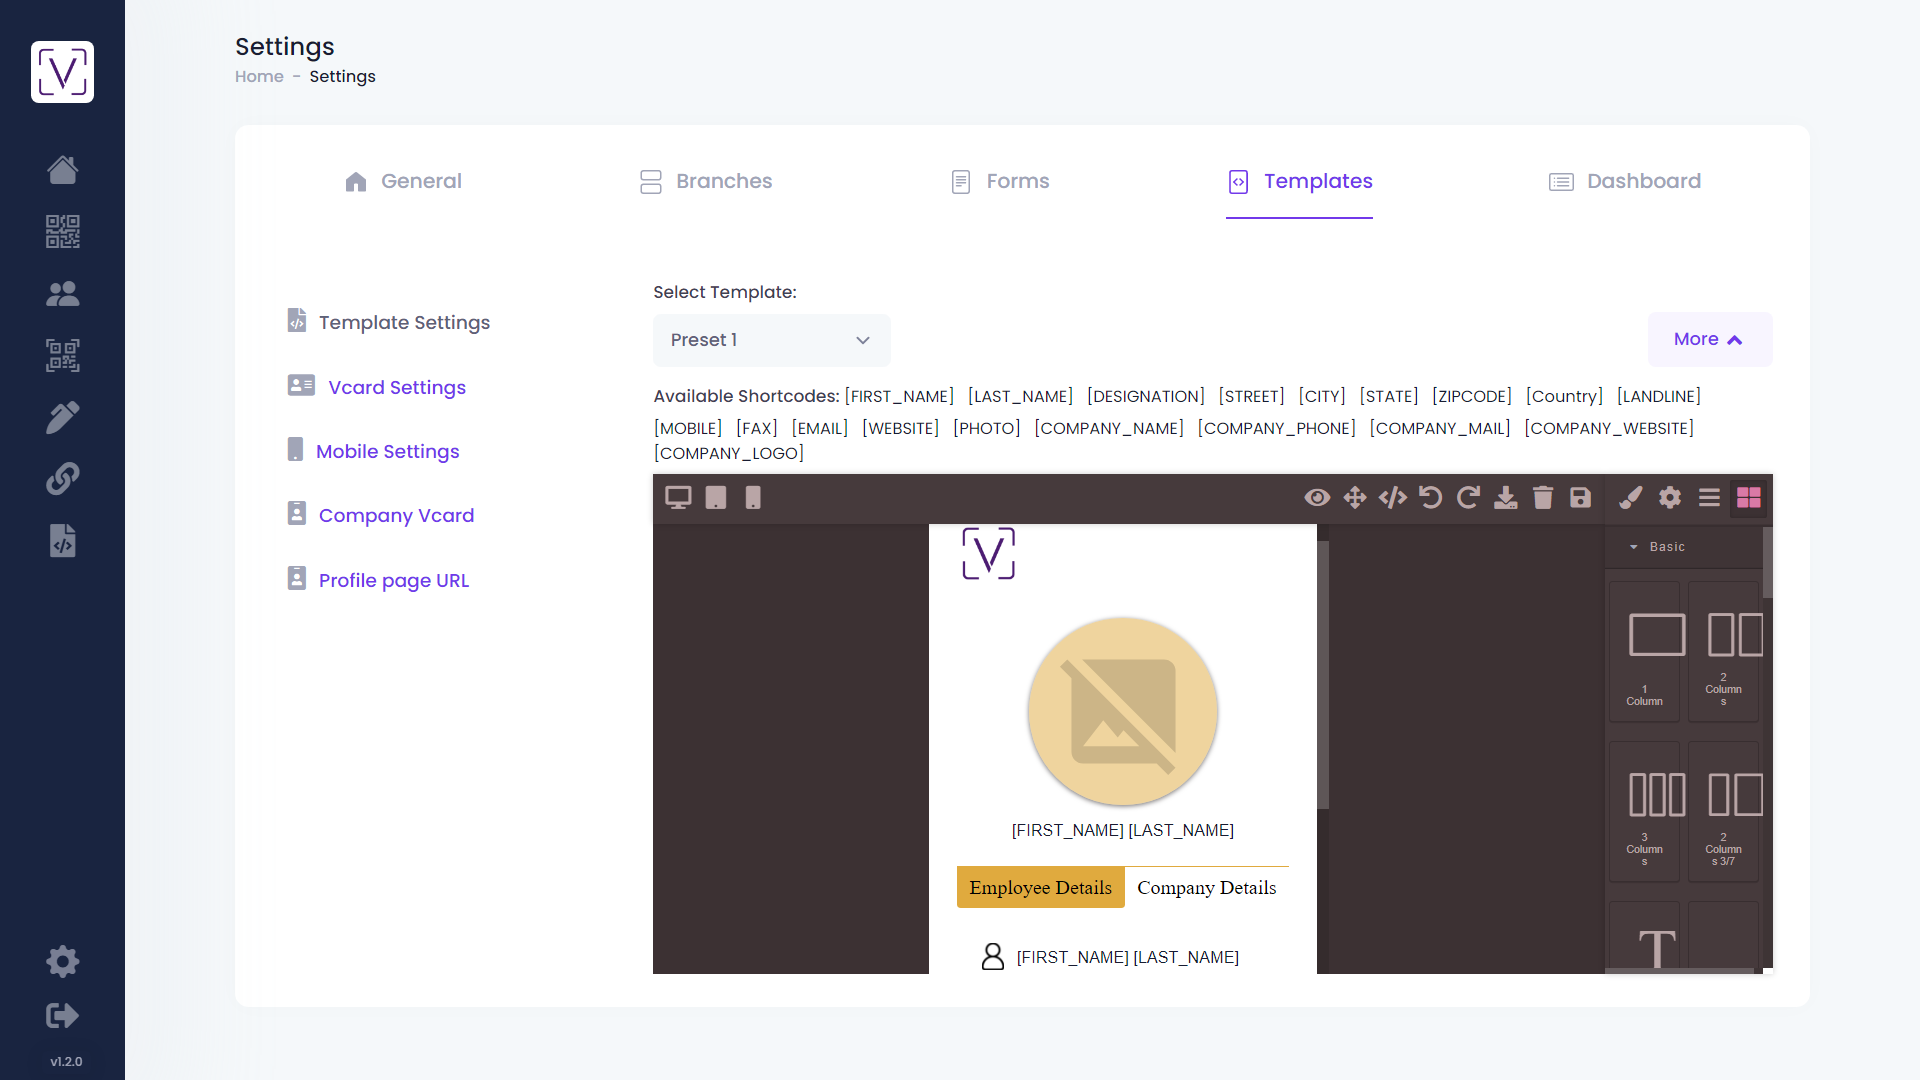
Note : The below editor screens show how editor will look like if you design your template for mobile devices.
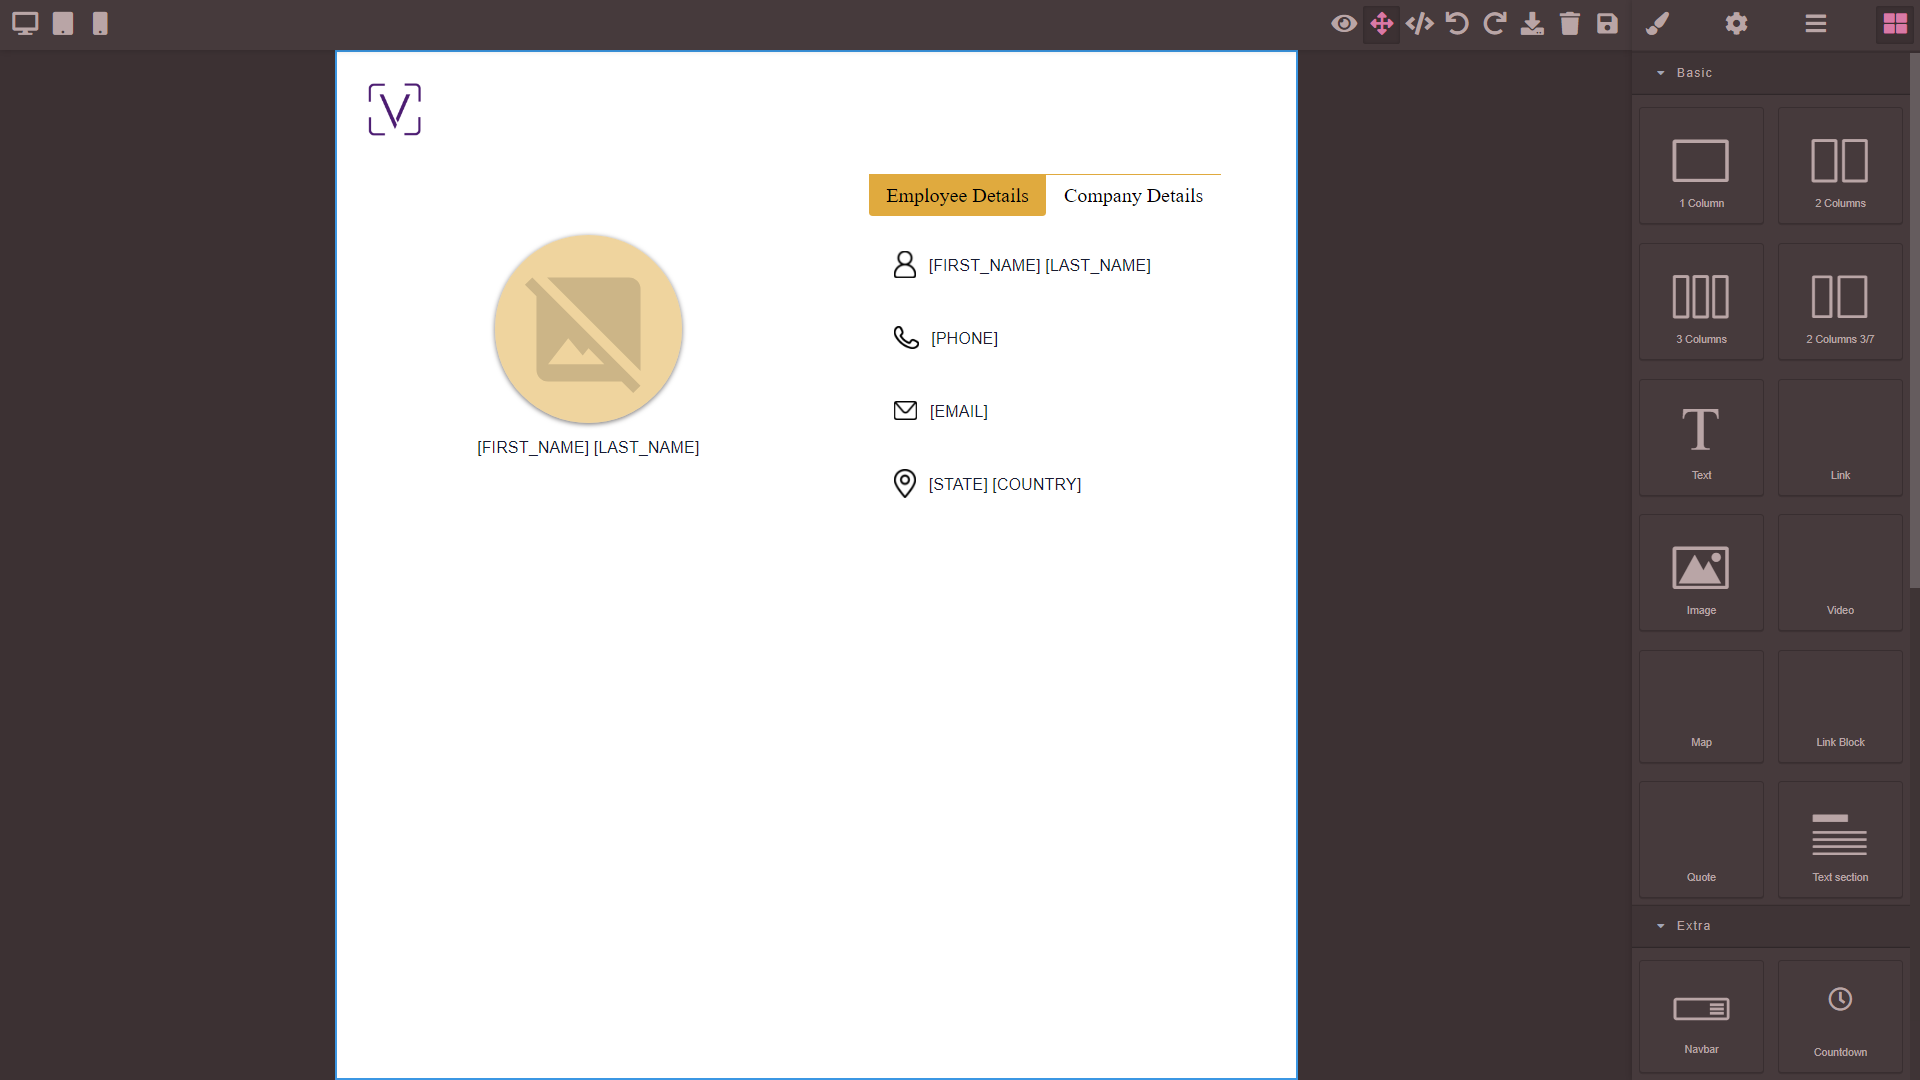
This is the page for template designing. You can design your template in full screen mode.
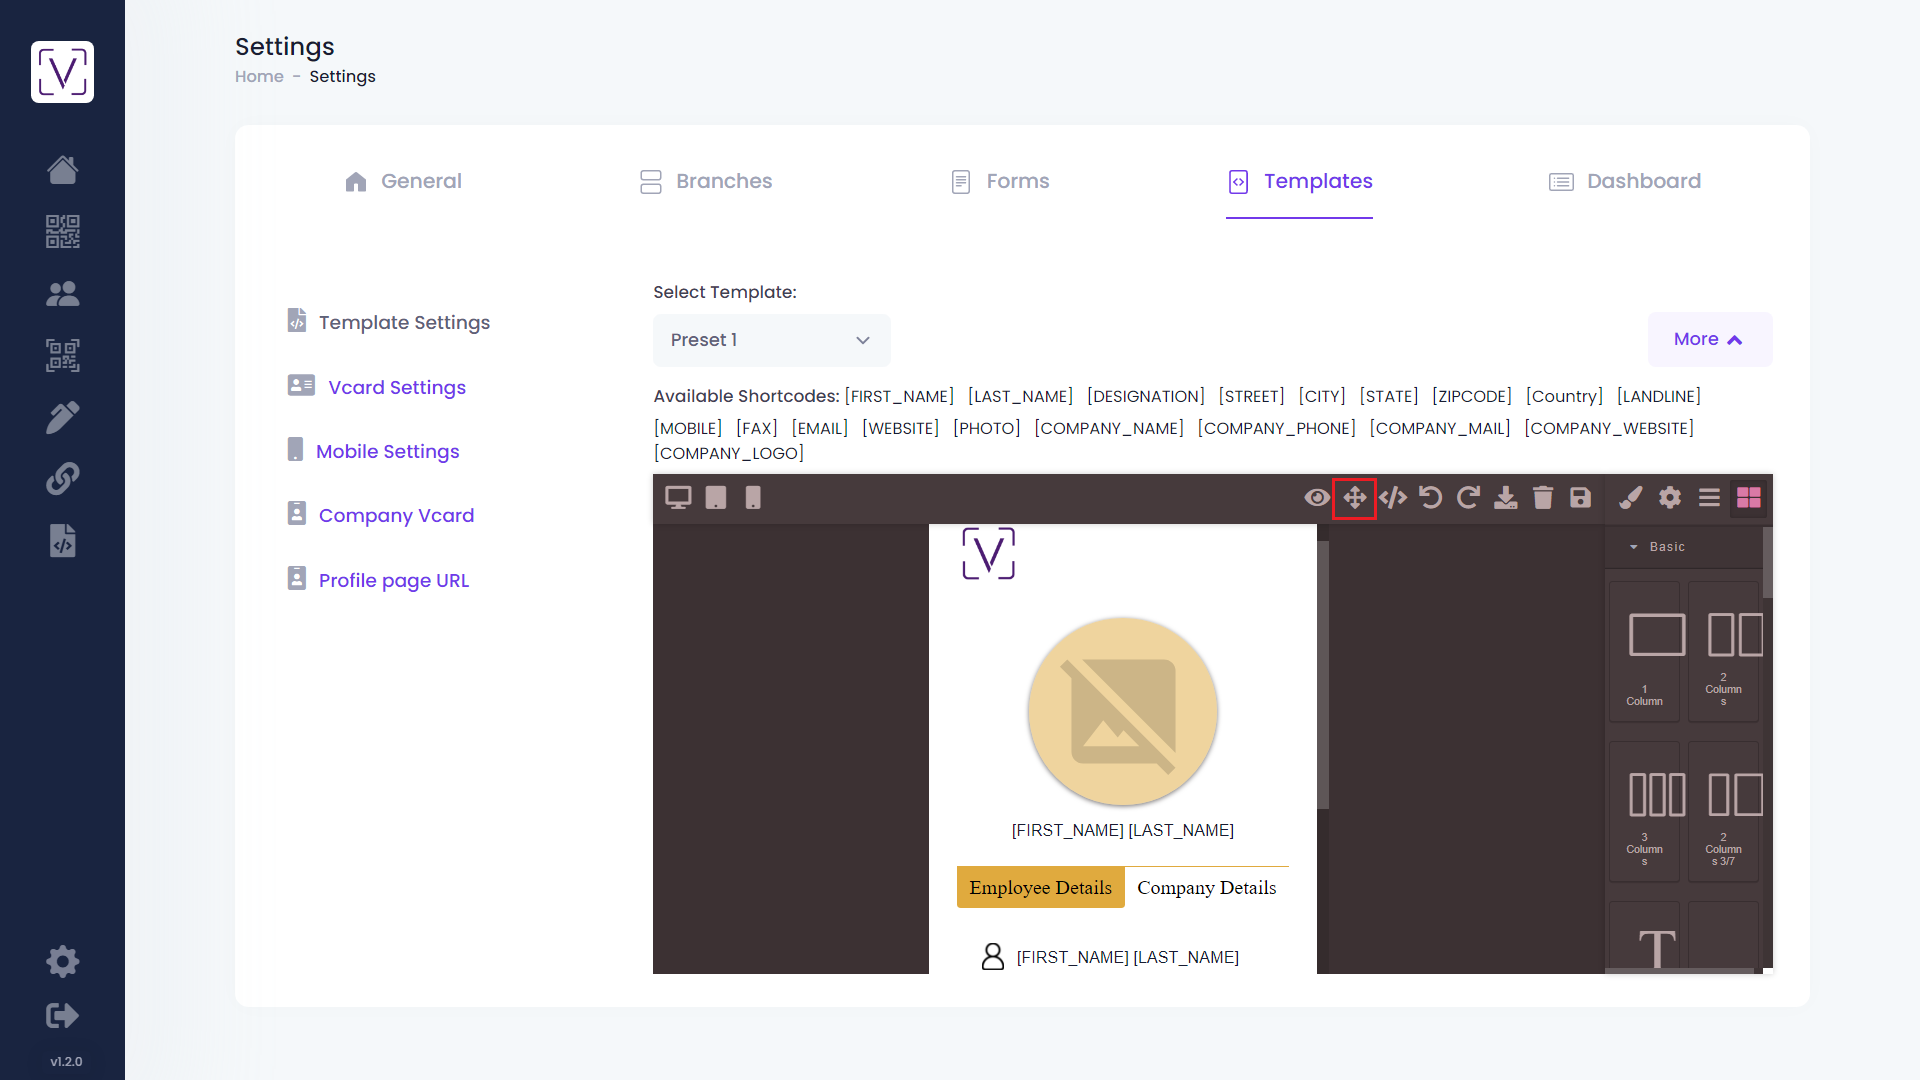
Click this icon
for viewing editor in Fullscreen mode.
The below screen is how full screen would look like.
Pasting Short Codes : #
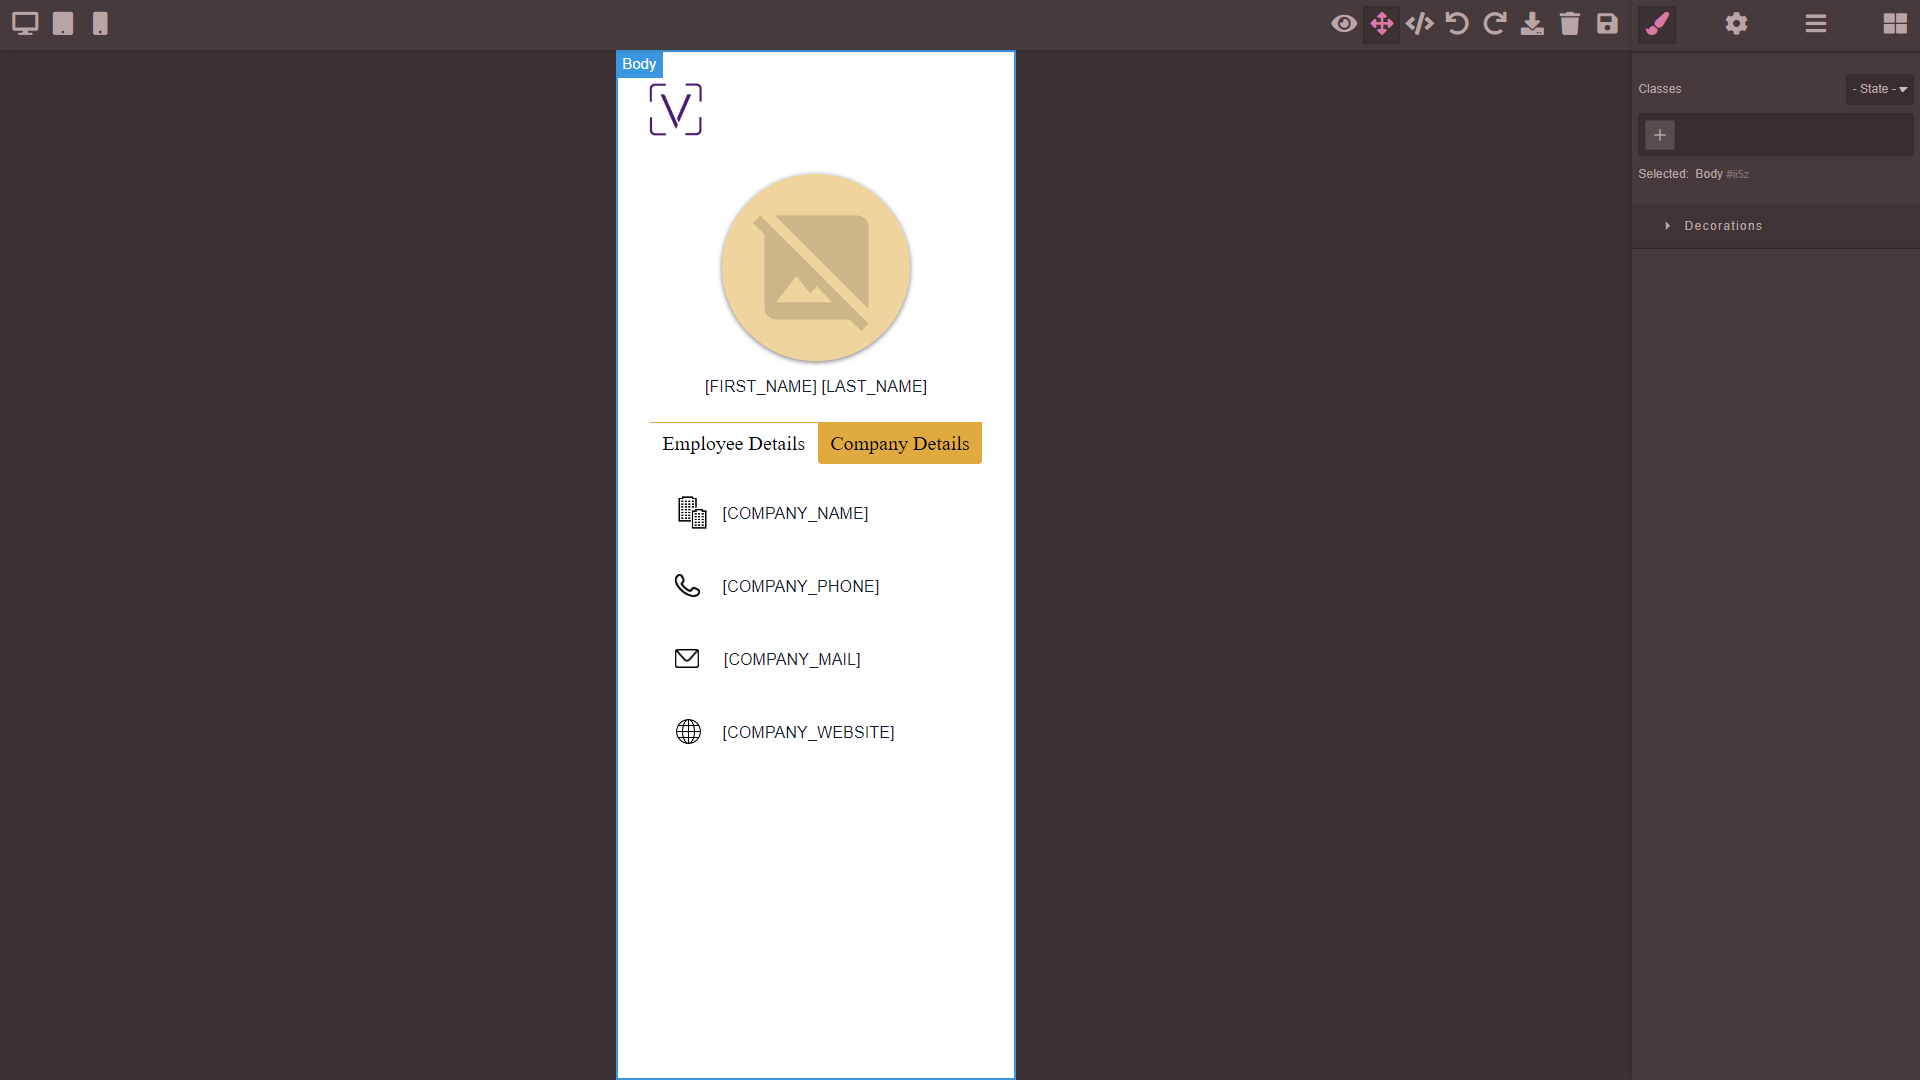
The above examples shows templates with short code entered.
You can copy and paste available short codes anywhere in the template. Refer below image for example.
Pasting the short code for images uploaded by user:
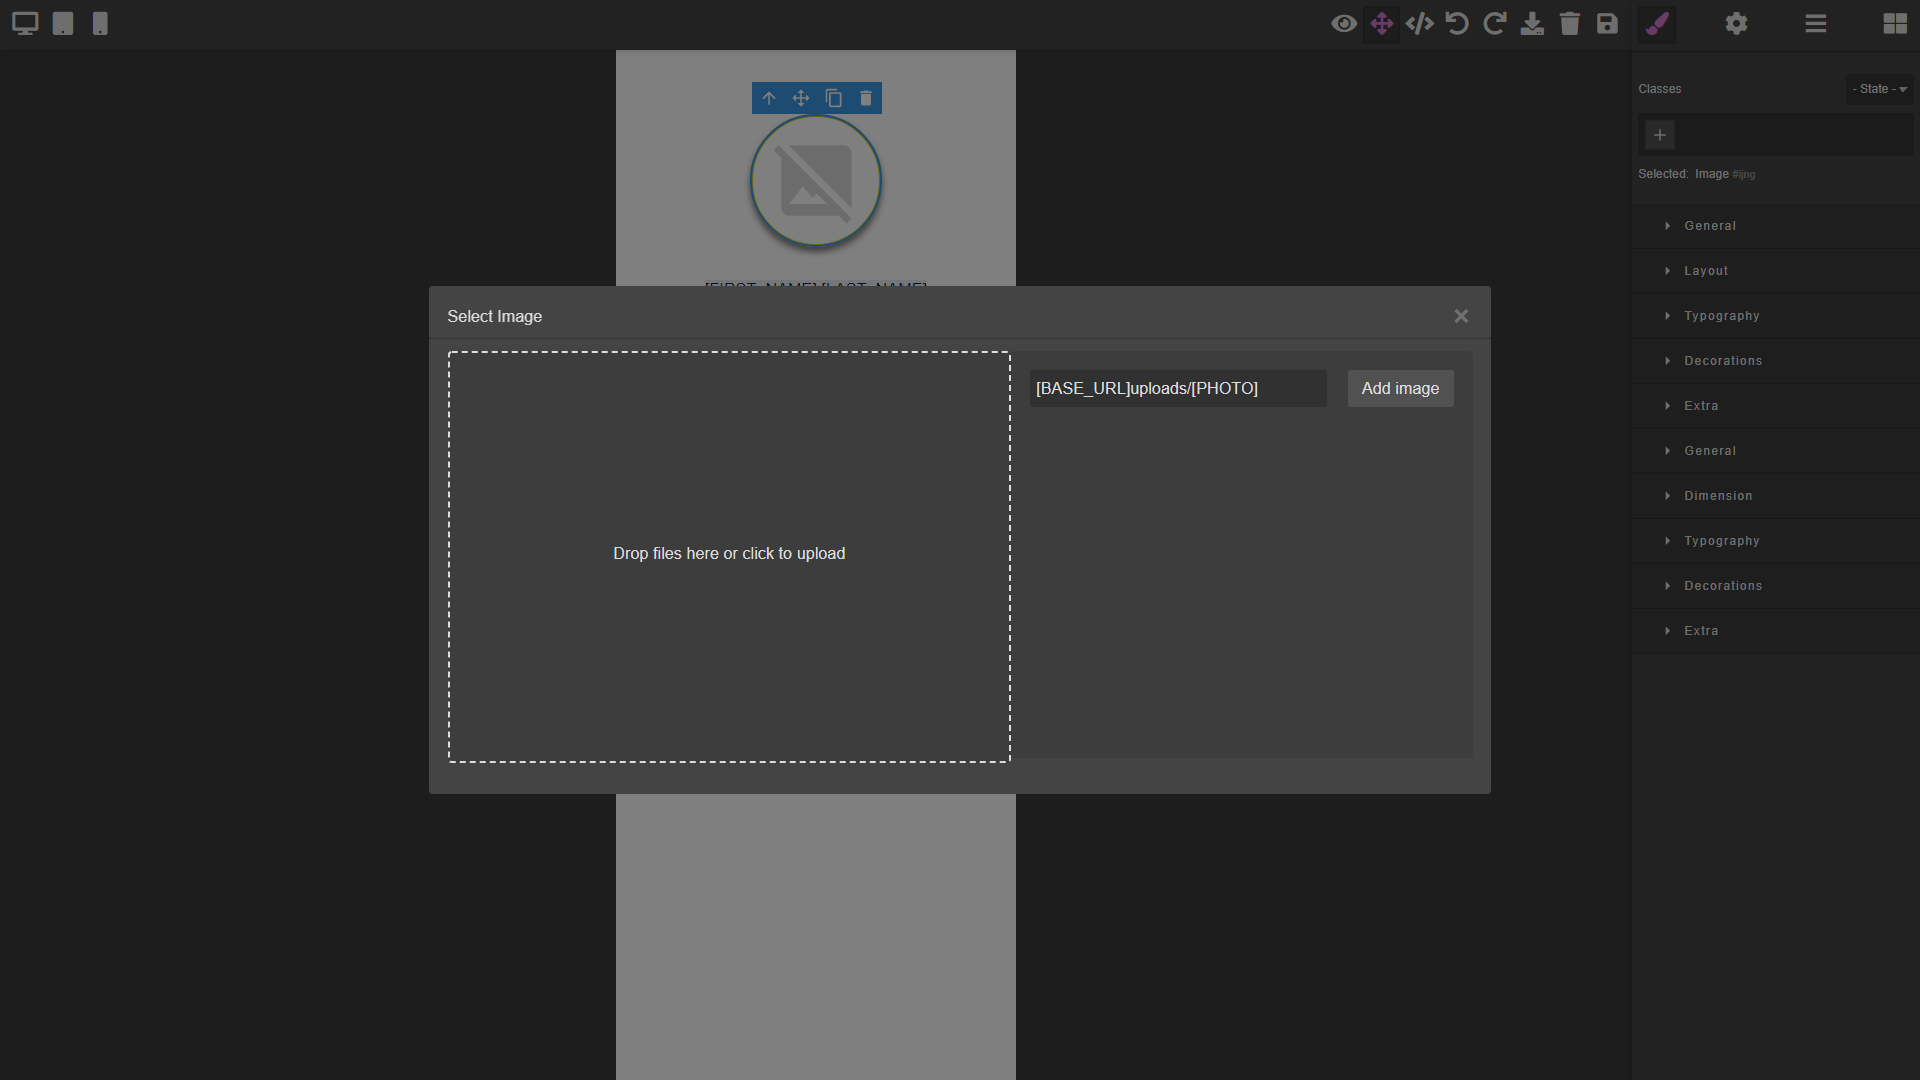
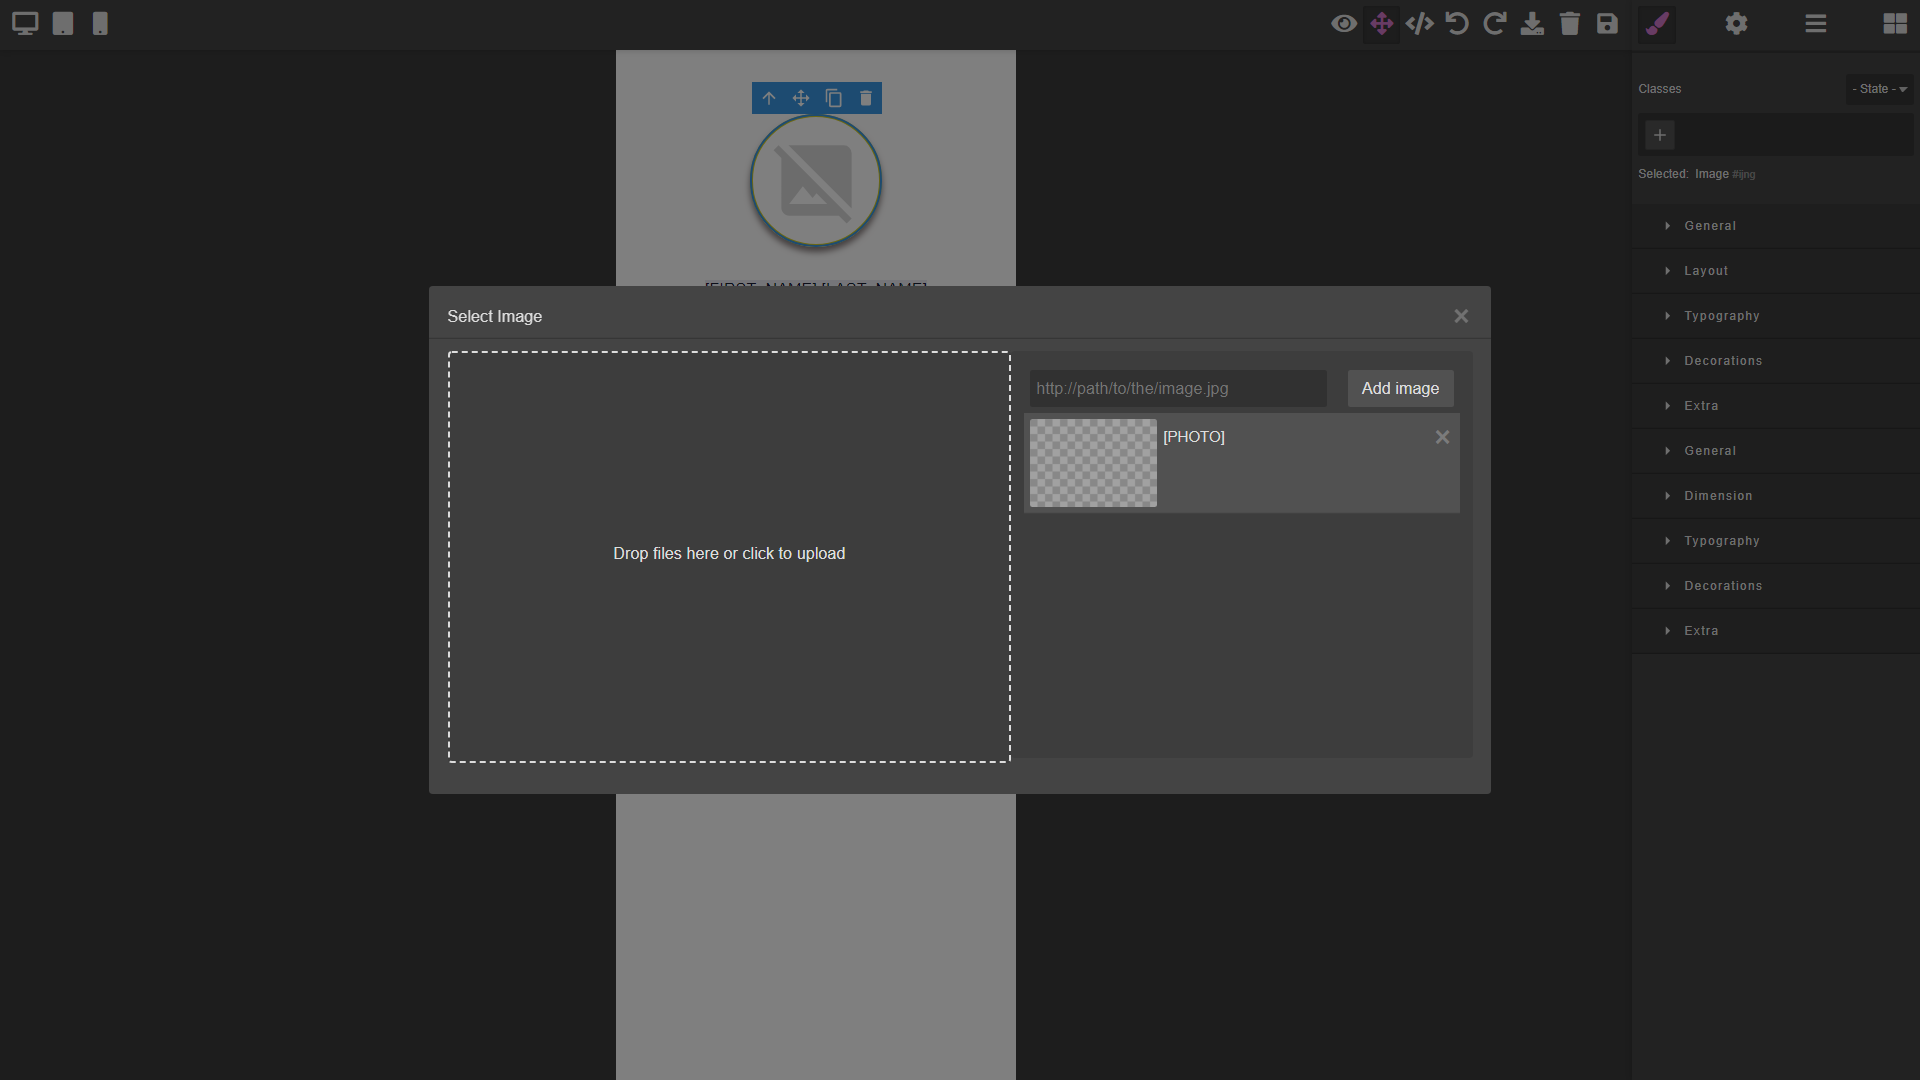
If the you uploaded a image for a user such as profile photo, follow these steps for displaying that image dynamically.
Double click on the image field and you will see a screen like below.
Entering other details: #
You can enter additional details such as information about users company in the template anywhere you want in the template.
You can either display these details dynamically or you can use a static value.
Displaying details dynamically:
Suppose if you want to use V-QRS for your company across its multiple branches, then each user may have different company details, to handle this situation you can use short codes of Company details to display the data.
Displaying Logo Image Dynamically: #
If your template needs to change the logo image dynamically according to your branch follow these steps.
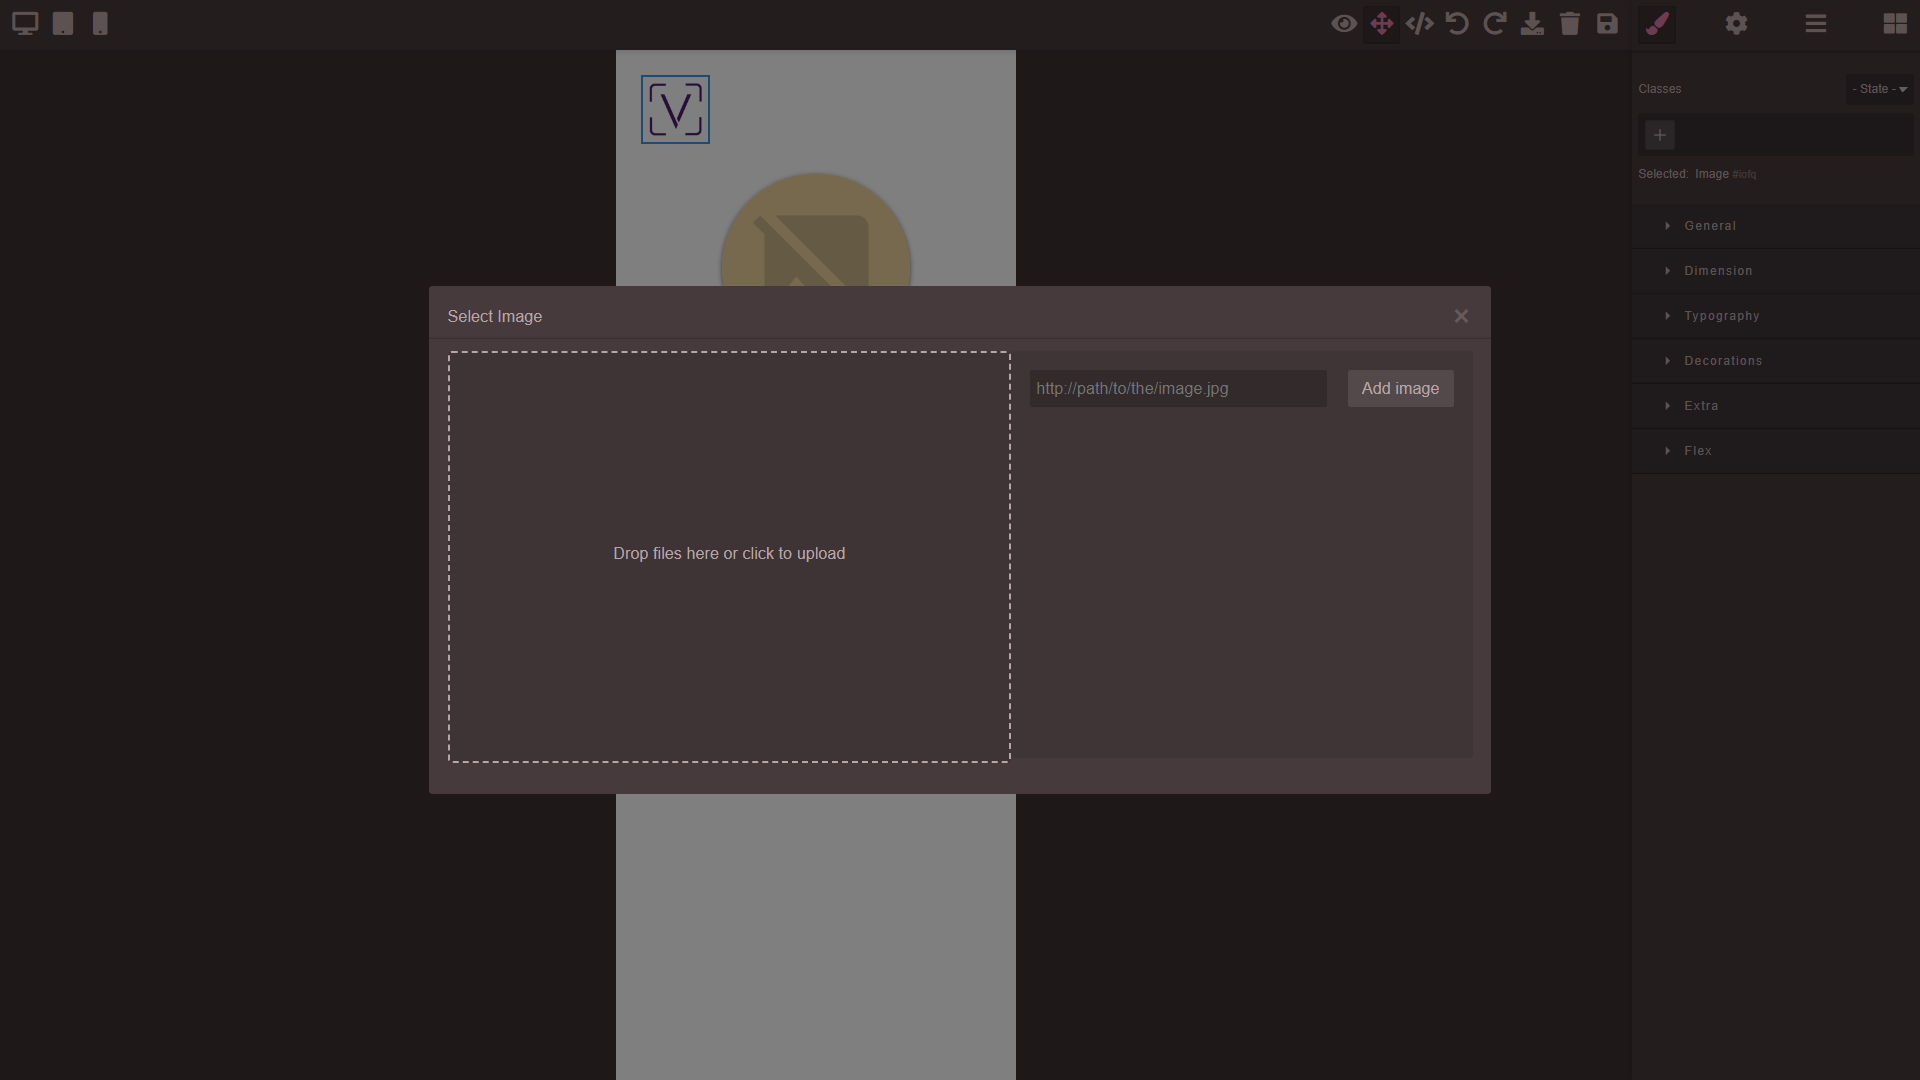
Double click on your logo image
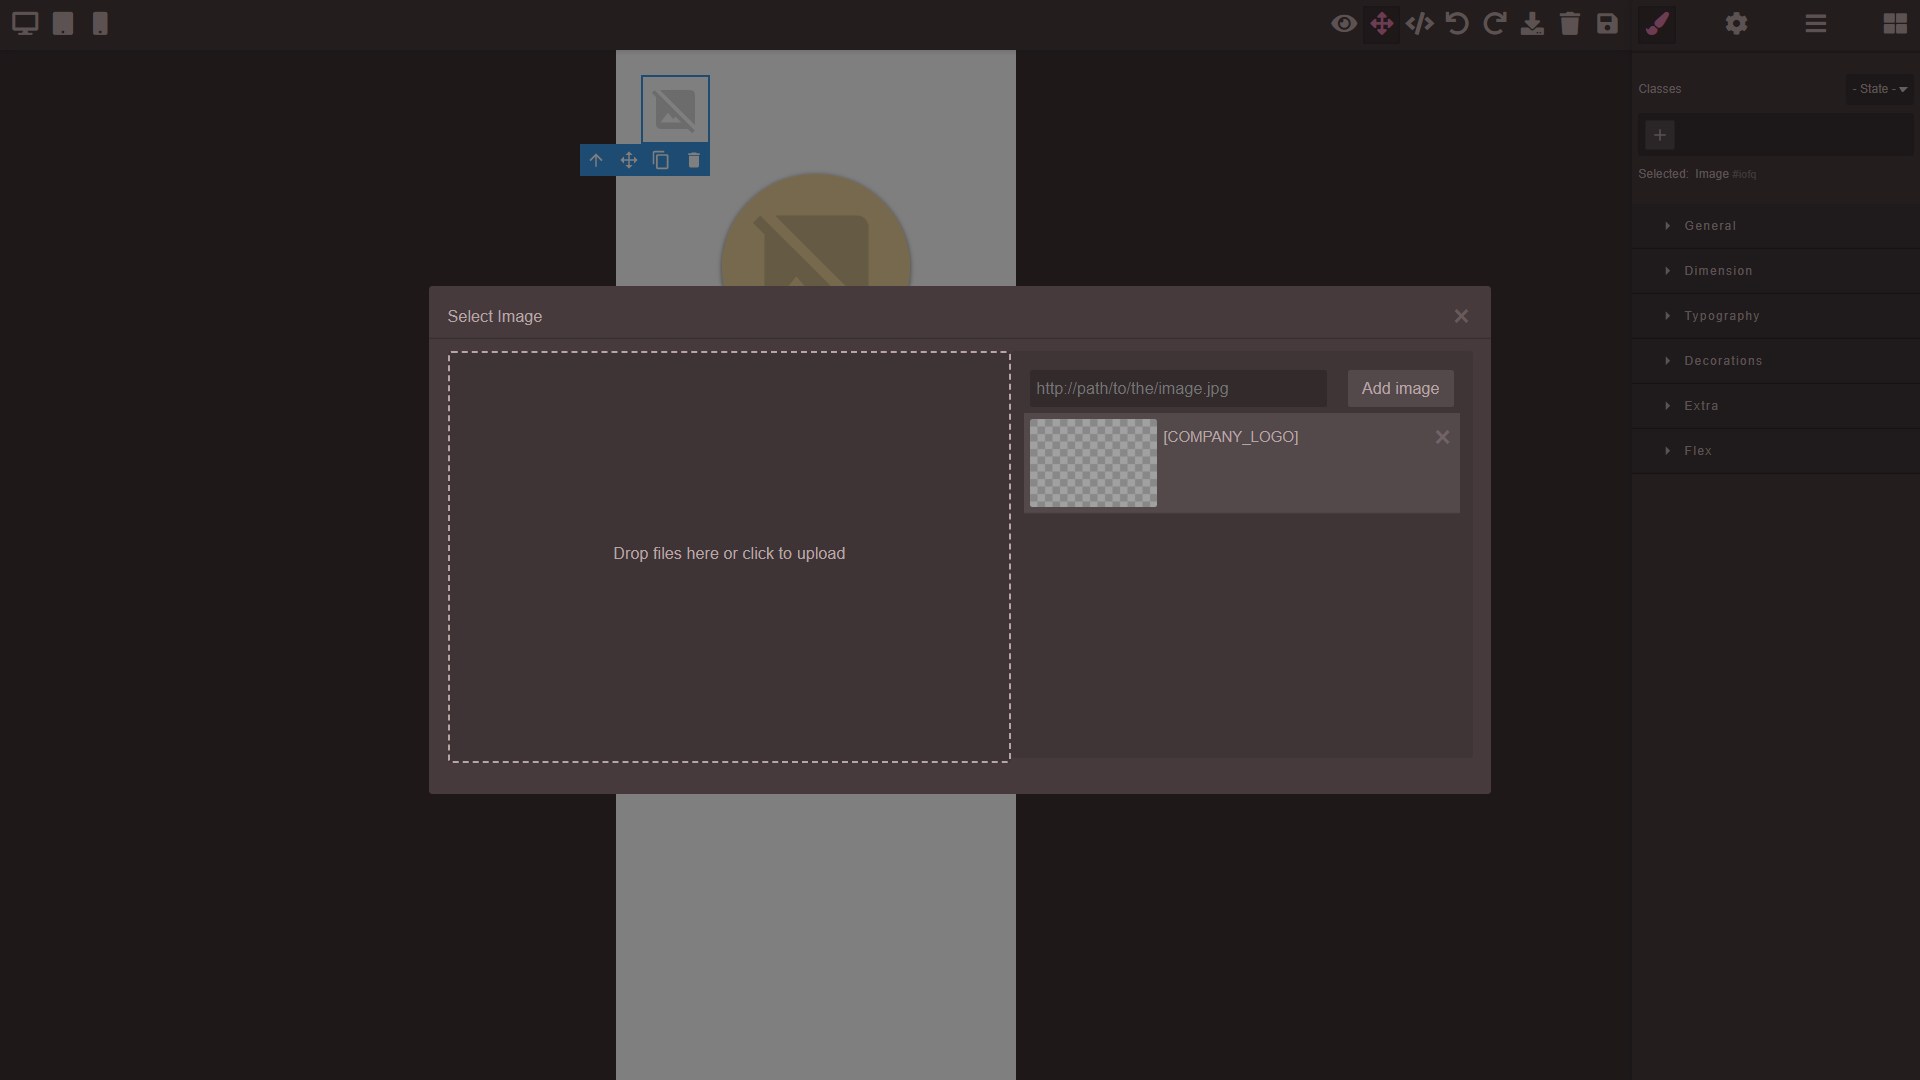
Enter the following code in the Add Image field:
[BASE_URL]uploads/[COMPANY_LOGO]
Then select the [COMPANY_LOGO] button that appears.
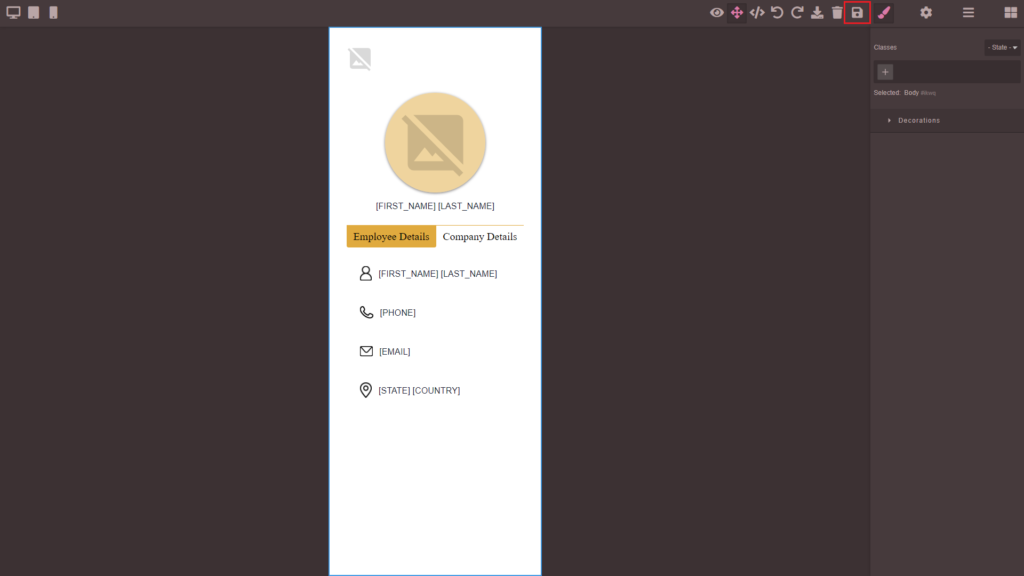
Saving Template: #
To save your template just click on the
icon on the editor.
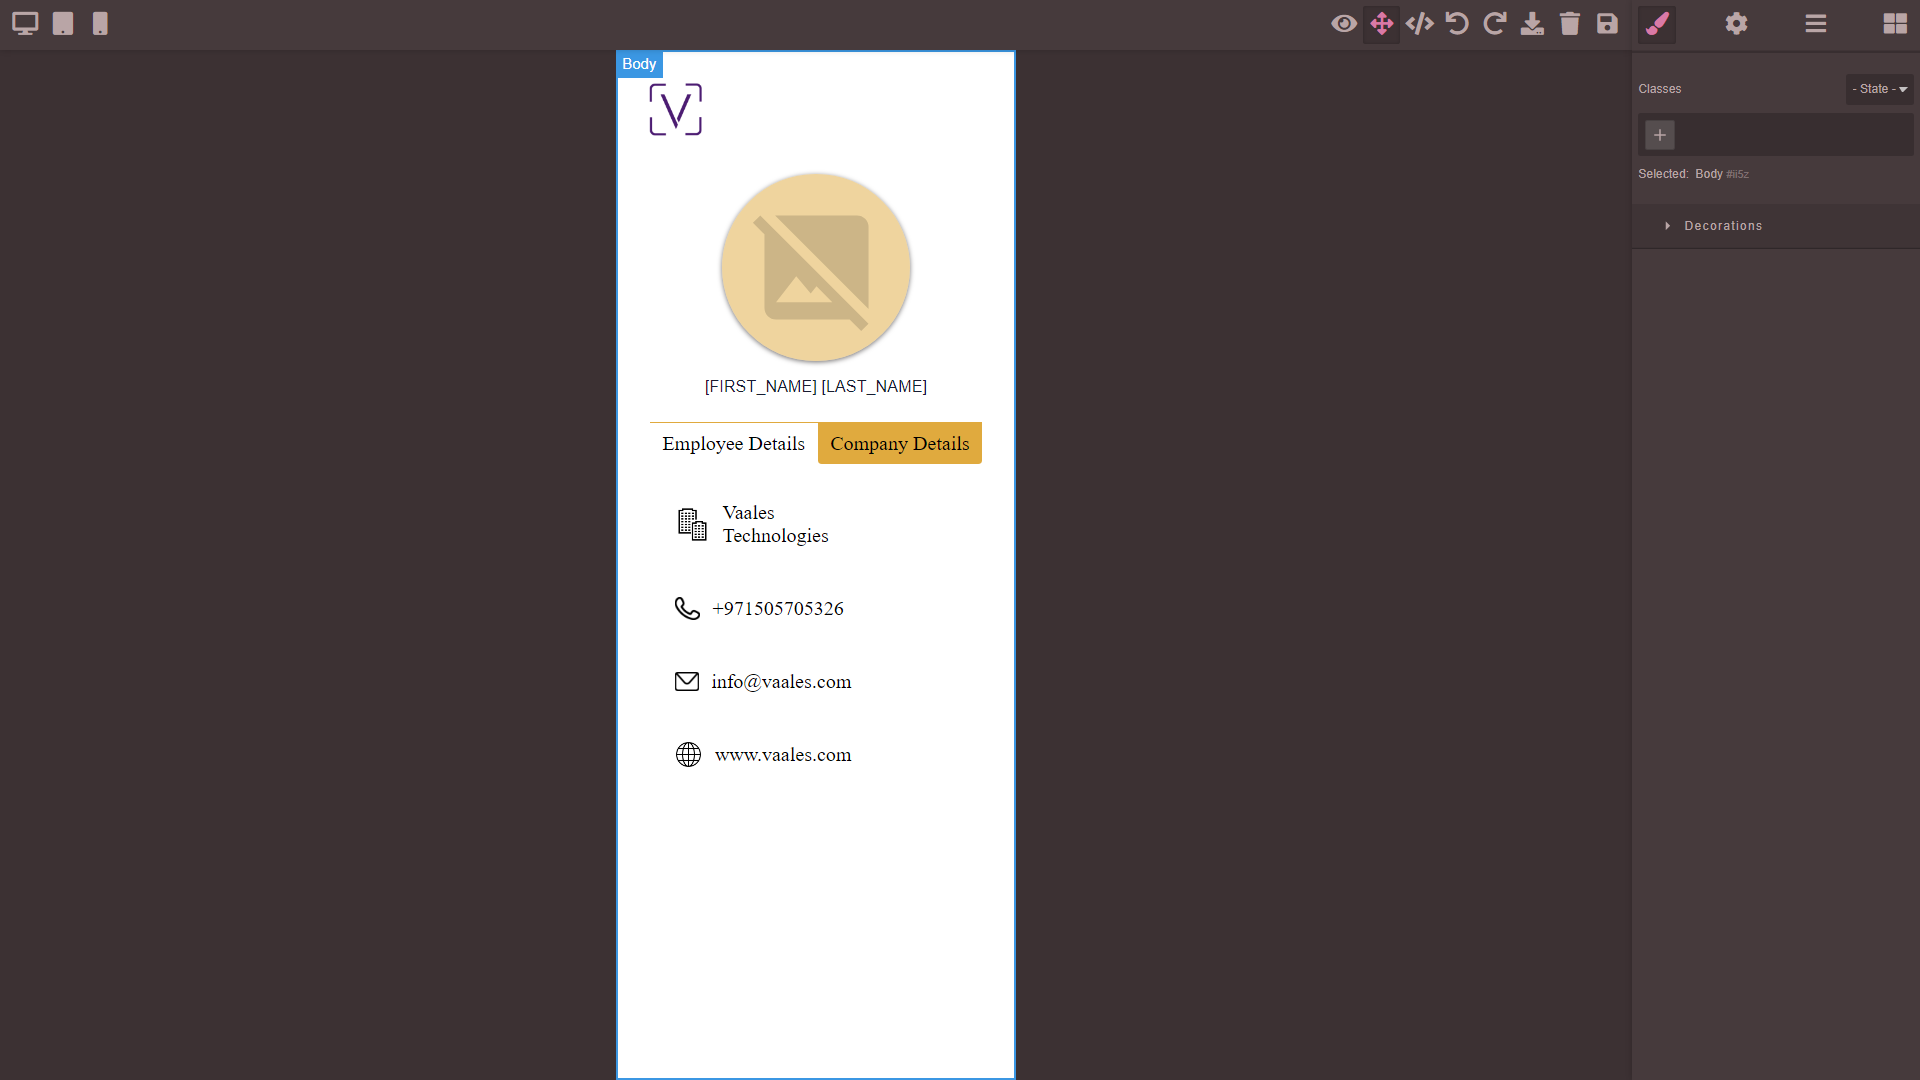
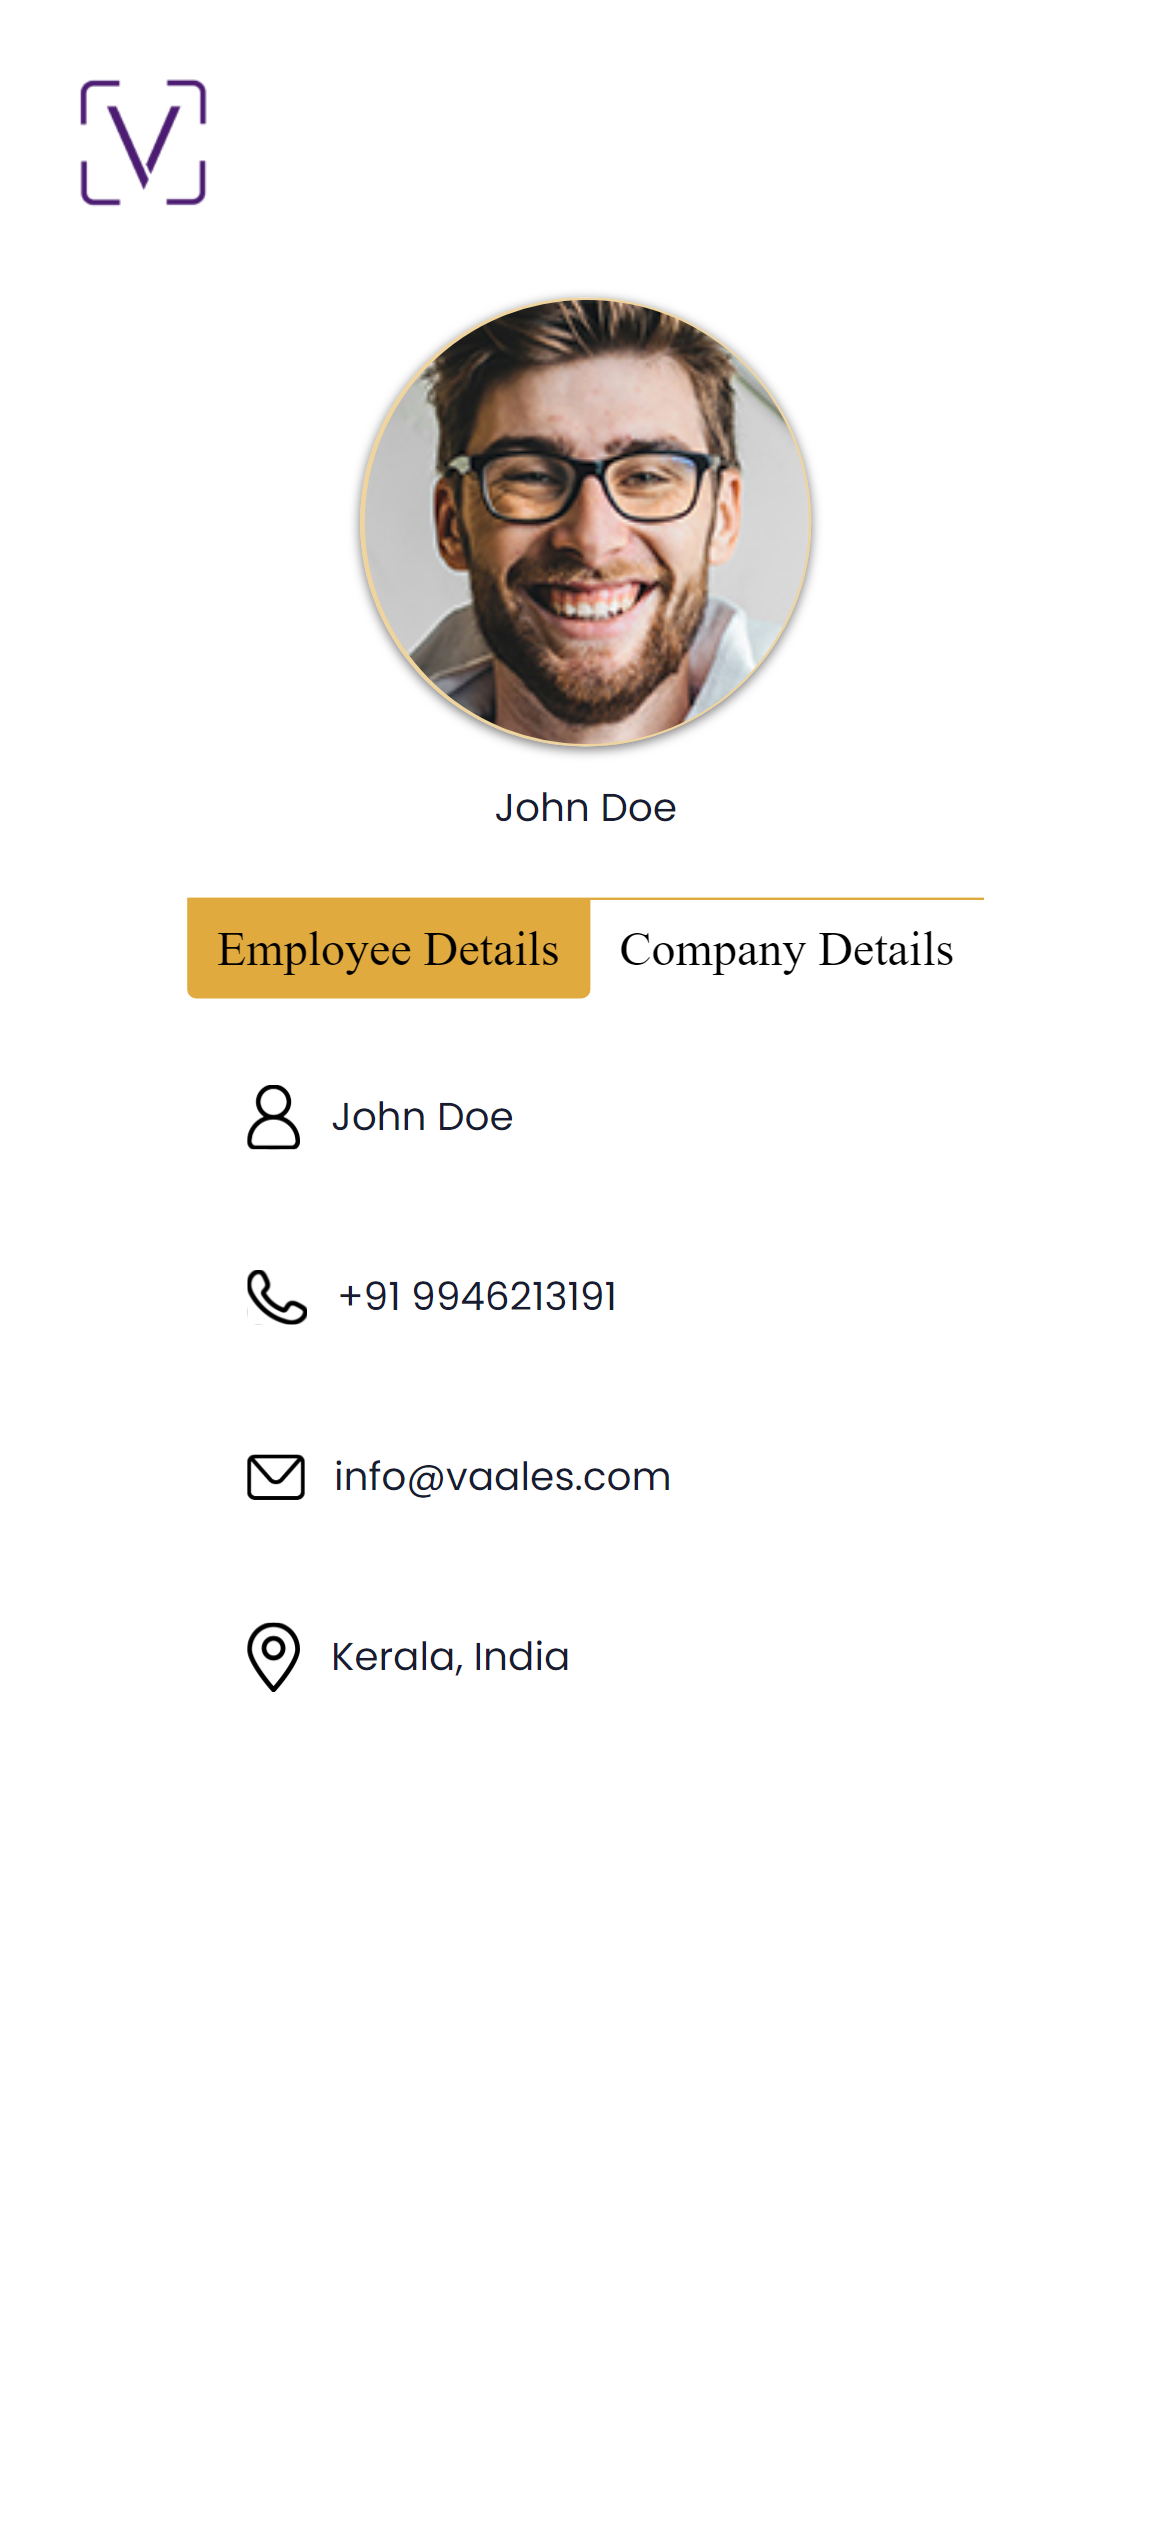
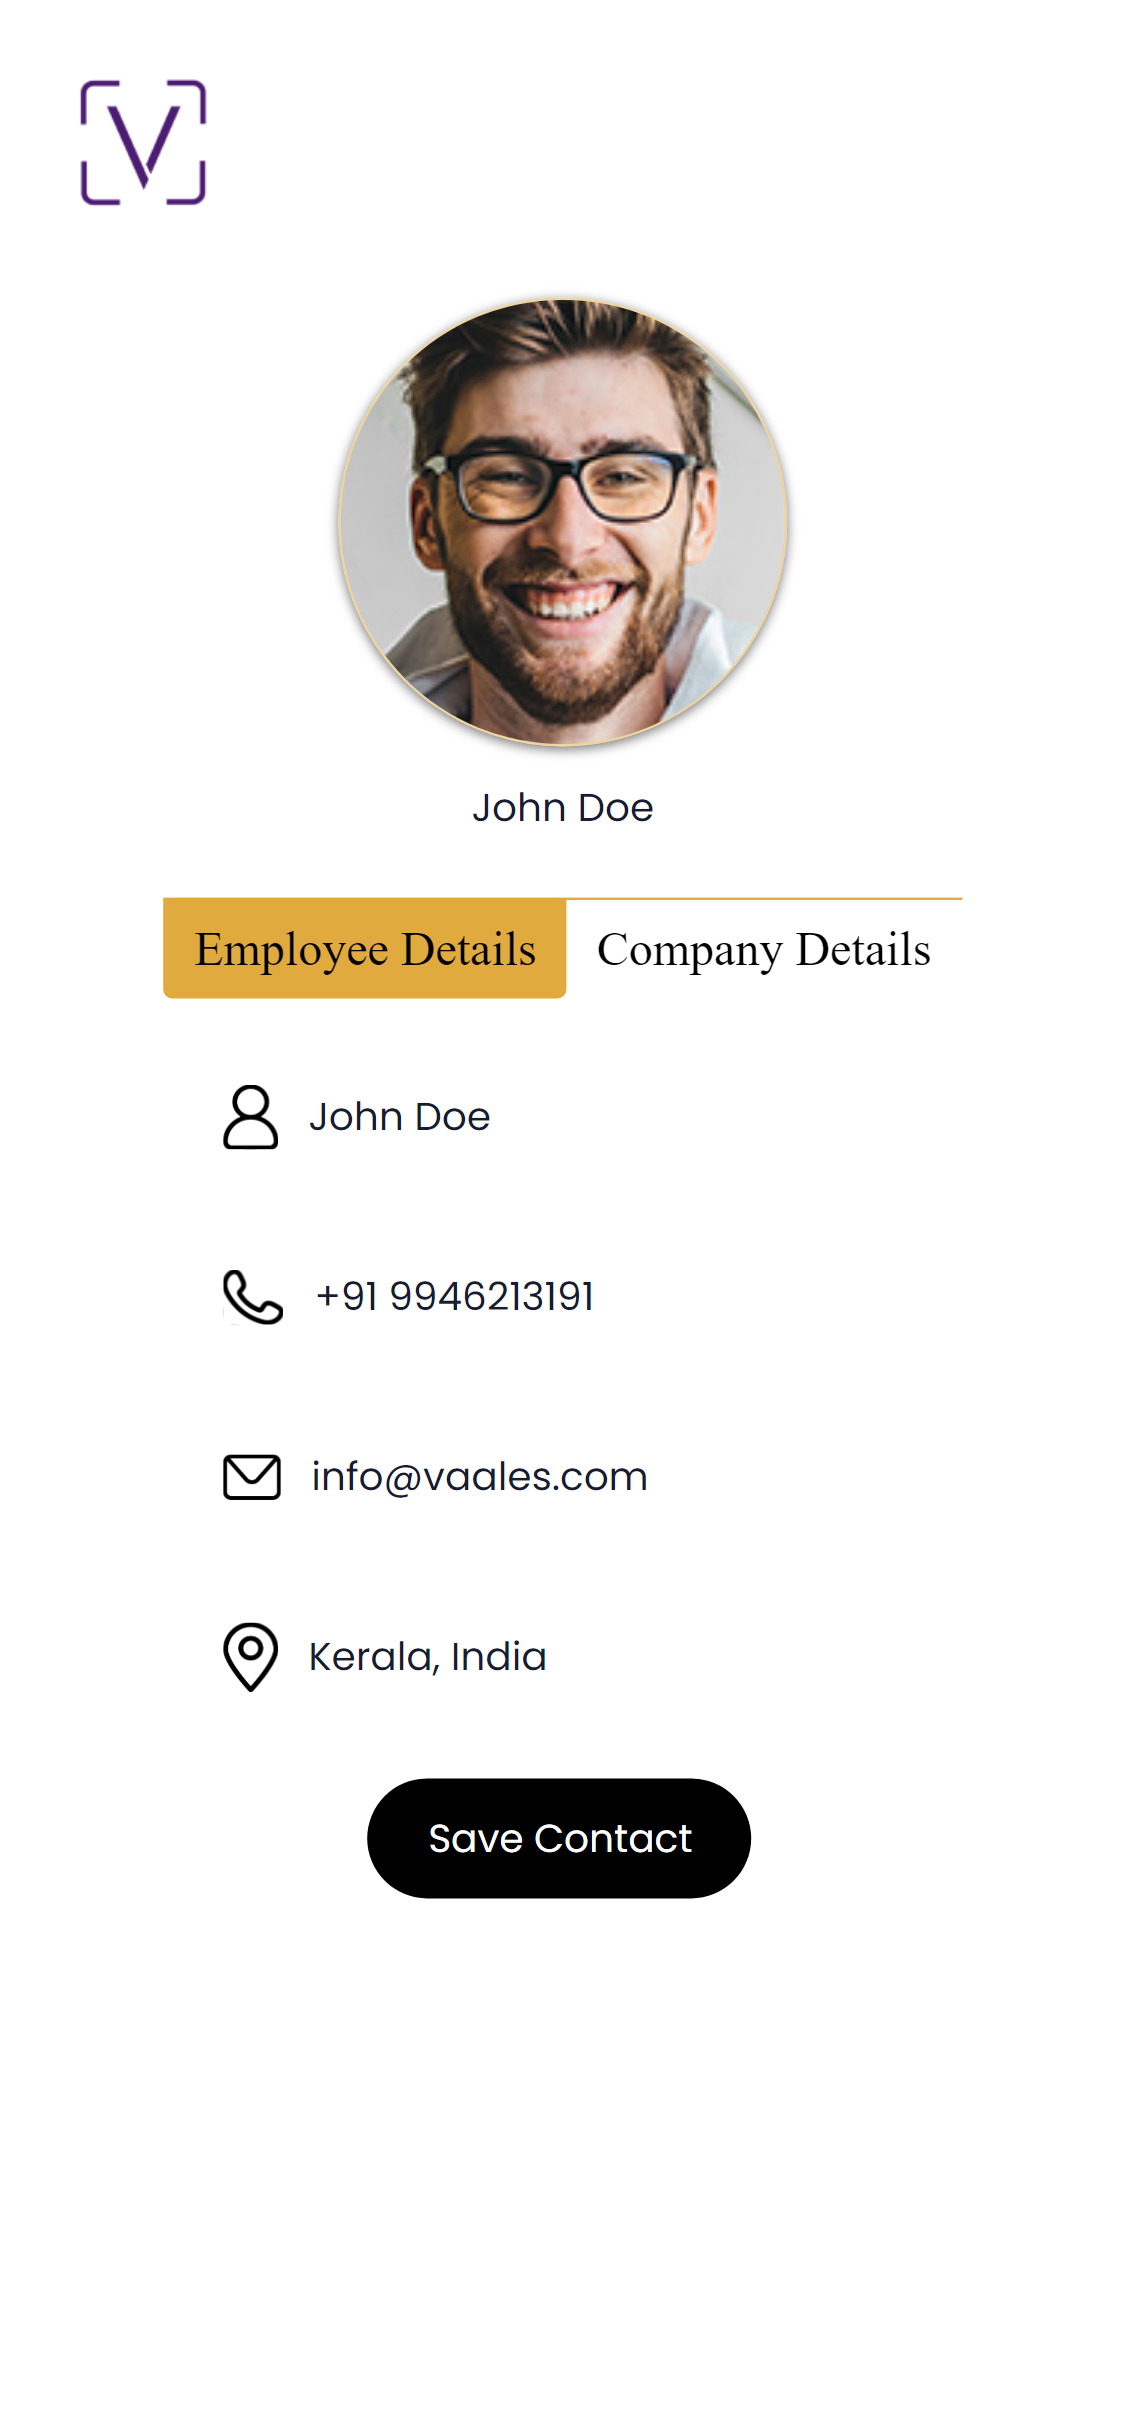
The following screen shows how the template would look like with short code replaced.
Adding a Save Contact Button: #
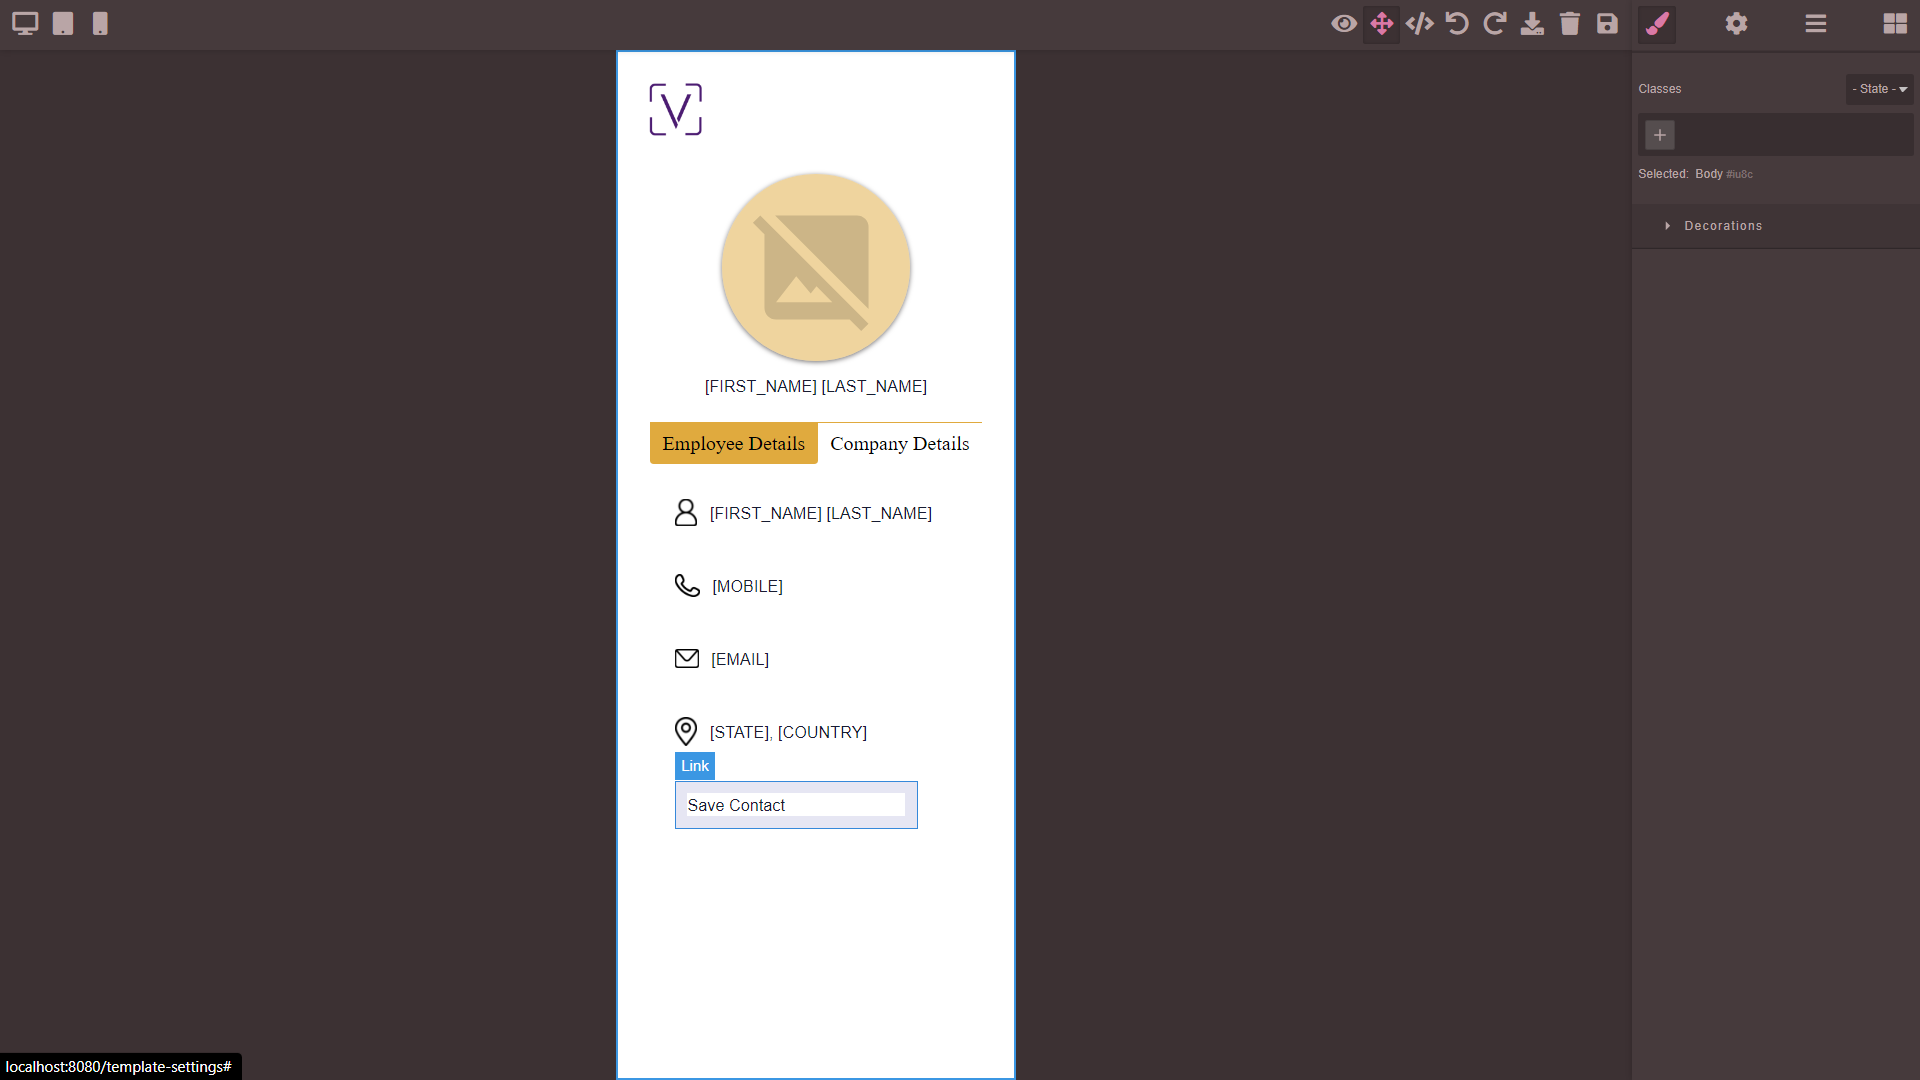
Drag and drop a link element or a link block element if you want to use image as a button
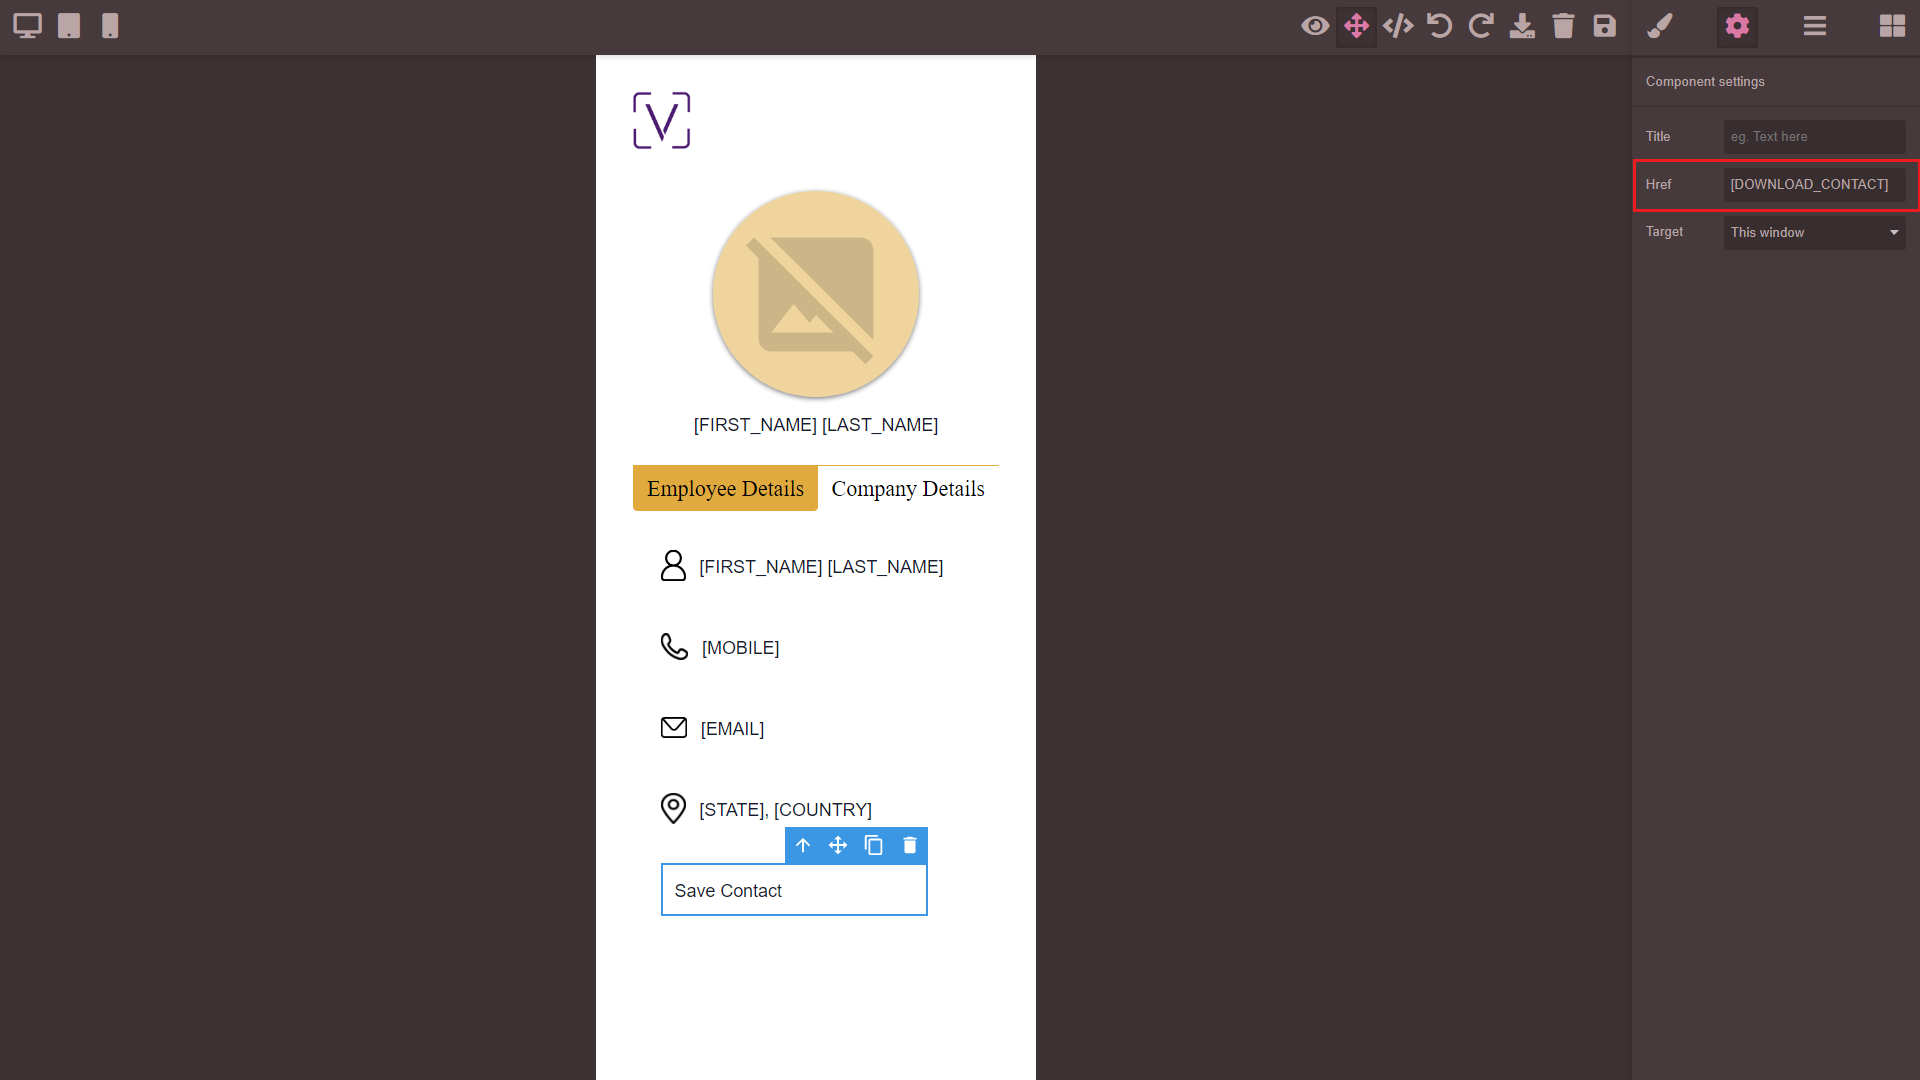
Add the following short code as a href attribute.
[DOWNLOAD_CONTACT]
Adding href attribute:
Select the link block and click on the
icon
Add your link or short code in href field.
Design the link thats suits you.
Template with a Save Contact button.
vCard Settings #
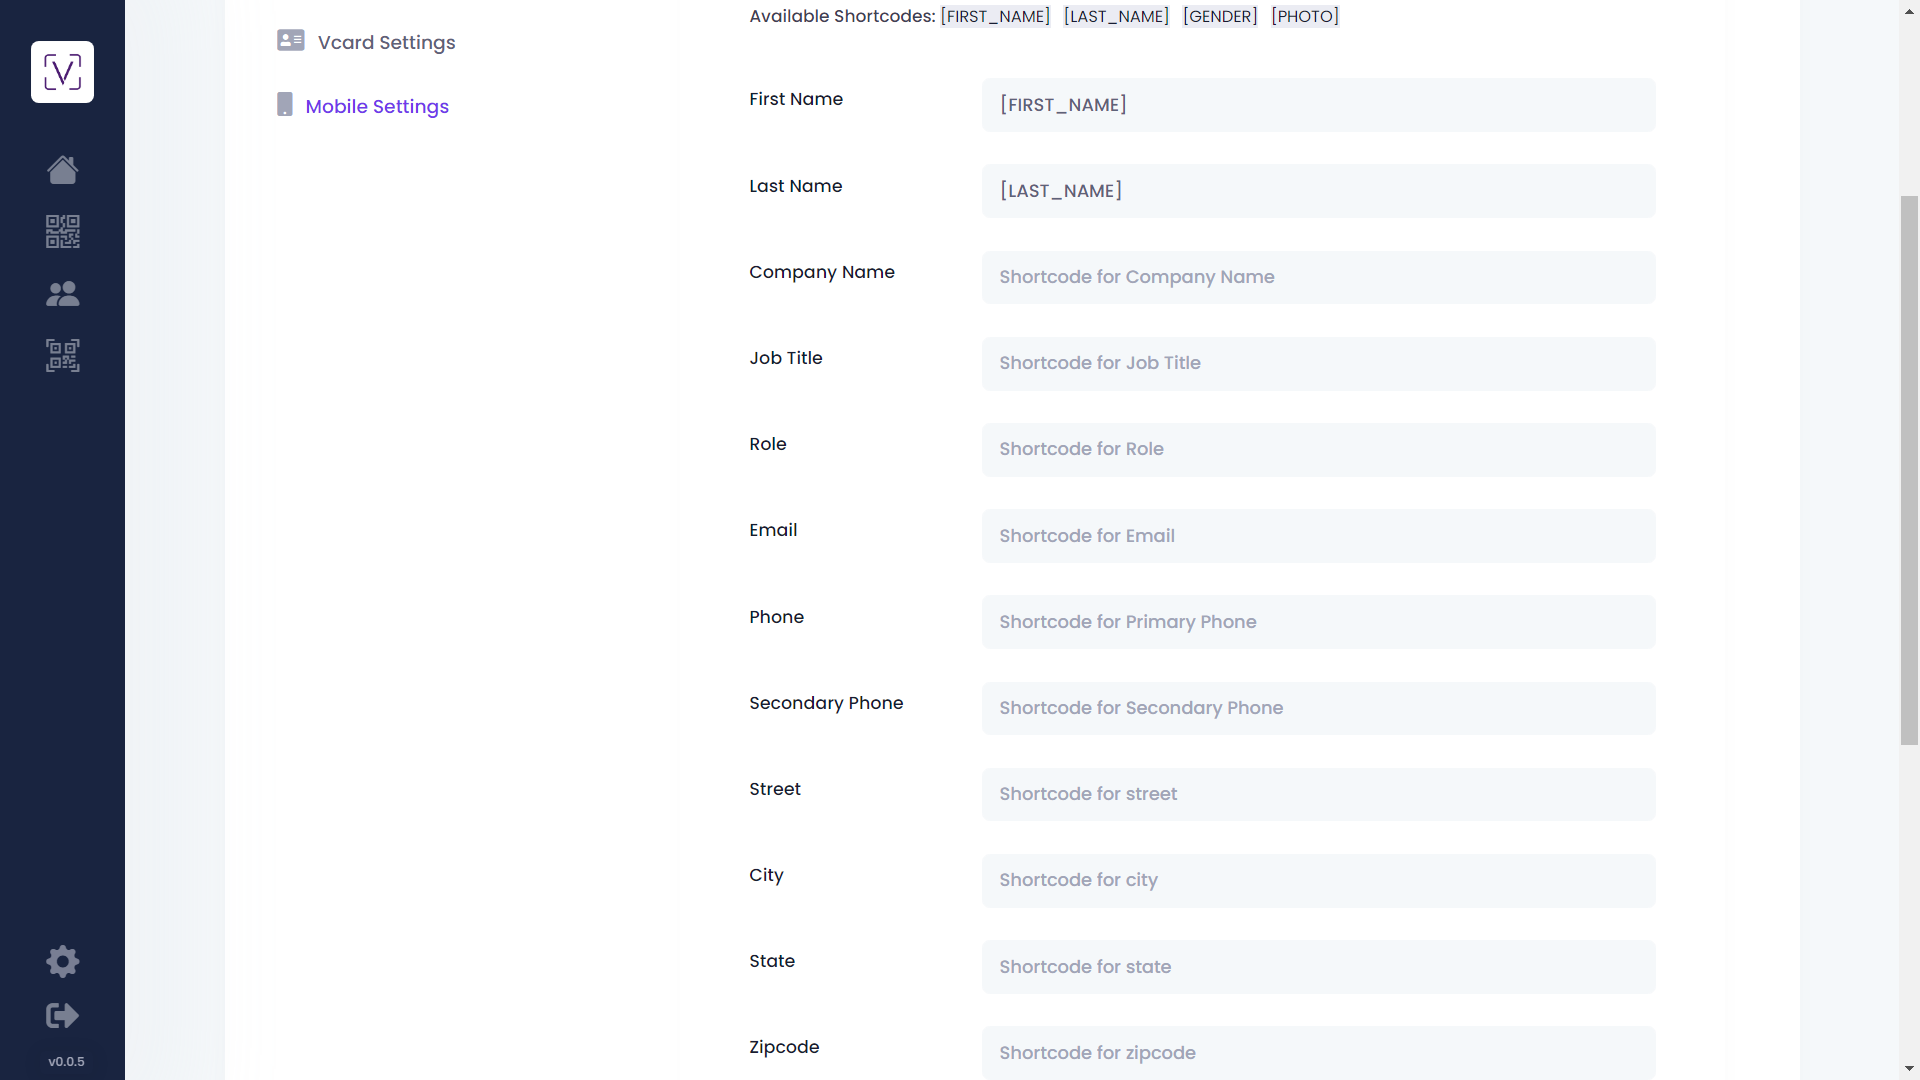
Copy and paste available short codes in their respective fields. Only by doing this, you will be able to view details in the vCard file.
After finishing click Save to save your changes.